|
|
Post by BT on Dec 29, 2006 7:02:49 GMT -5
The finishing looks like something that would get me a bit nervous   That bow looks sweet laying on the table after being cleaned up  |
|
smj
Forum Guide
  Traditional Council
Posts: 1,819
|
Post by smj on Dec 31, 2006 1:12:33 GMT -5
Just to touch on some prep work that might not have been clear back at the beginning, I’ll add a couple picture here to kind of cover things… 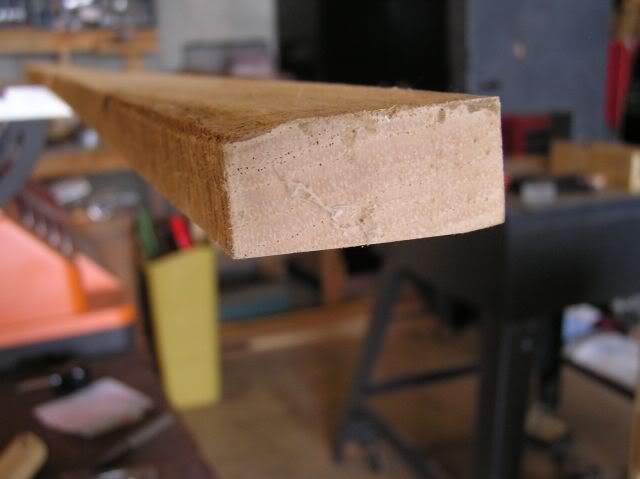 So, when your board comes in from some bowyers supply shop, it could look like this one. Rough cut, surfaces are not square. Hmmm. What to do? Cut it to length… 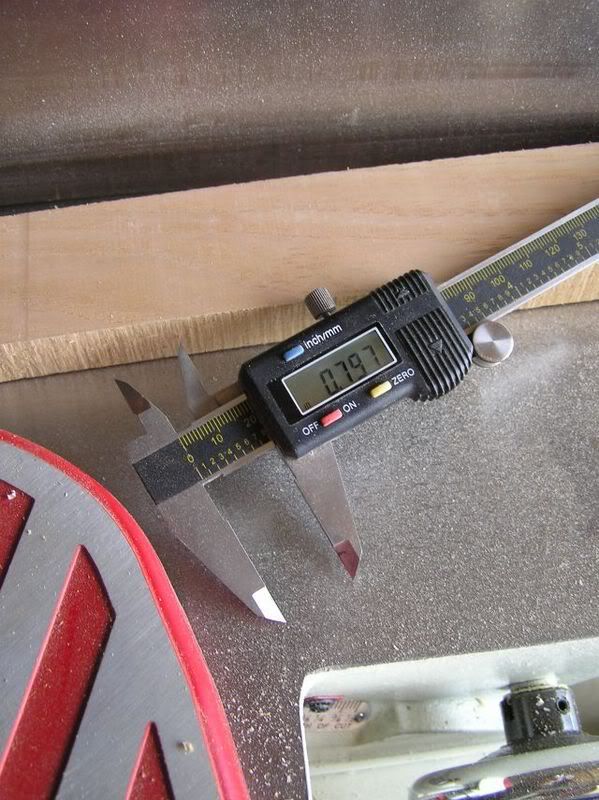 I run a pass through the jointer, this gives me one clear side and it is quick. I take off only a little bit each pass, and make how ever many passes are required to get the teeth marks off. A note of caution: you will remove any reflex in the board by doing this. 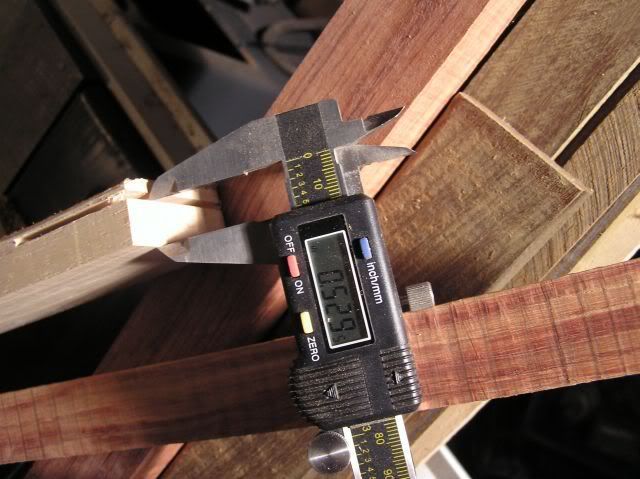 Once I have a flat side, I square one of the side edges to the cleaned surface. Now it is easy to take the board over to the table saw and cut the board to the thickness I want. In this case I want a board that is a little over a half inch thick. I seem to always end up with teeth marks or some burn, so I leave a little extra on so I can make a pass or two through the jointer to clean the board up and get to a half inch thickness. 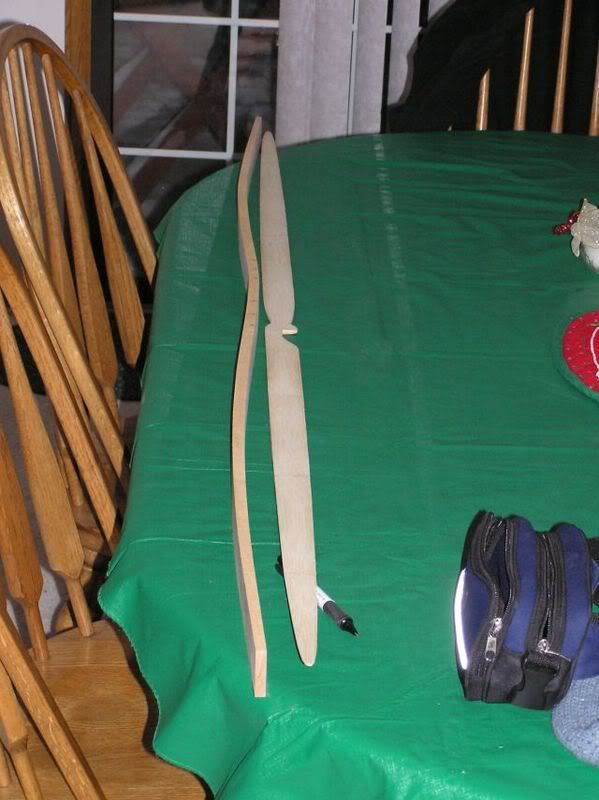 Once clean, I cut the taper in the limbs and put it on the jig I use. In this case, I heated the hickory to help with the glue up soon to come. You can see that some of the shape was retained by heating it while on the jig. To the right is the bamboo – all thinned out and ready to be glued on. This is where I am equipment limited… I have enough clamps to do the bow, but if I do that, I don’t have enough to glue up the grip wood for my Ipe bow. So, the hickory will have to wait, I want to glue the grip on to the Ipe bow first! |
|
smj
Forum Guide
  Traditional Council
Posts: 1,819
|
Post by smj on Dec 31, 2006 1:14:06 GMT -5
Anyway, let's get back to the Ipe bow and get the grip mounted to it! 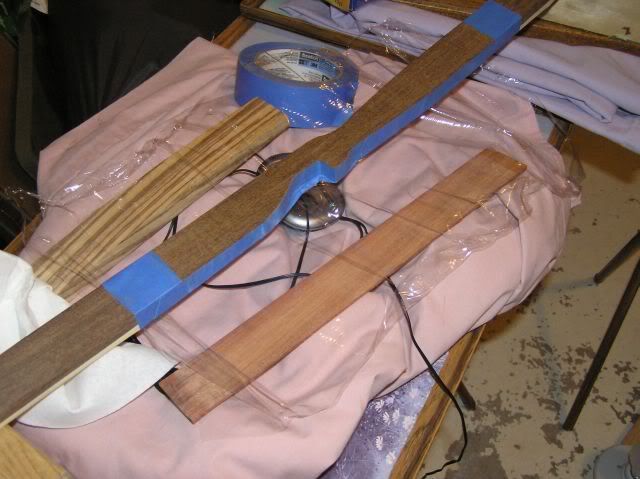 So, I take a fair amount of care in fitting the grip block to the curve of the bow. You don’t want a lot of huge gaps here between the grip wood and the belly wood! (In this case, the grip wood is zebra wood.) I use a sander mostly, simply because it is quick, to fit the curve of the bow through the grip area to the grip block. Lay the bow on it's side, trace the curve on to cardboard, fit the cardboard to the curve on the bow. This can be sanded with ease - just take care that you don't take to much off! Still, better on cardboard than grip wood. Then trace your perfect pattern to the side of the grip wood, then rough cut with a bandsaw and then do the fine fitting work with the sander. Also, fine grain sandpaper takes less wood off per pass... This can be a good thing! However, if you find that things are not matching up for you – take a break! Don’t hurry your new friend along, and get mad at it when it becomes difficult. Like any new born, they can be cranky… By the way, the blue tape is to mask the bow from the glue that will squeeze out from between the layers. At this point, I don't feel like having to sand off excess glue. Still - it probably wouldn't be that big a deal. 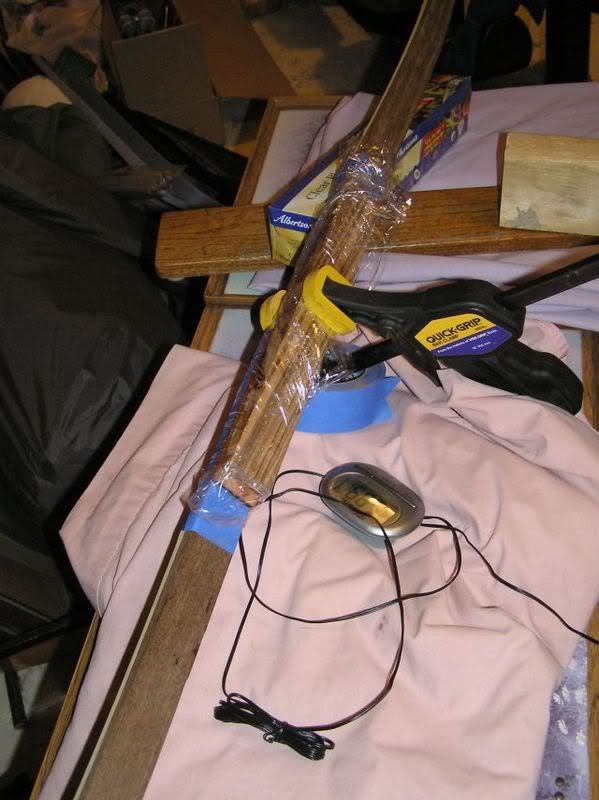 Don’t forget to pass that hacksaw blade over all the glue surfaces so that you can see where the blade teeth have dug grooves. These assure your glue lines. Mix the glue, coat all surfaces to avoid dry spots, then place the grip wood in position. Check the center lines to make sure everything is lined up, and apply the first clamp in the middle. Now check your alignment again, just to make sure things are where you want them to be. 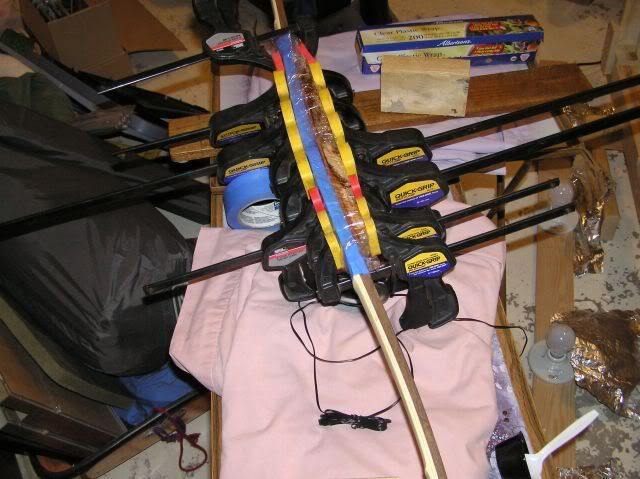 When applying clamps, always start in the middle and work your way to the outer reaches of the area to be glued. When you are done, you have a nice neat line up of clamps. Pop this baby under the heating tent, and when it is done we can start to tiller the bow. (And I can glue up that hickory bow following it!) |
|
FlyinCedar
Junior Member
 Takin a break on patrol
Posts: 280
|
Post by FlyinCedar on Dec 31, 2006 3:08:30 GMT -5
Very nice....I cant wait to see the finished product.
|
|
|
|
Post by BT on Dec 31, 2006 14:21:45 GMT -5
THIS IS REALLY SO COOL! NEED TO DO A FEW MORE , PUT IT IN PRINT AND PUBLISH  |
|
smj
Forum Guide
  Traditional Council
Posts: 1,819
|
Post by smj on Jan 2, 2007 0:08:13 GMT -5
Happy to hear someone is enjoying this! Let's get this one done before worrying about the next one! 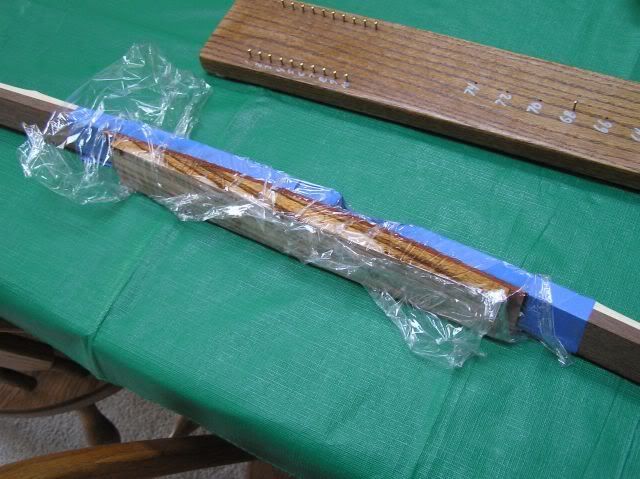 Let’s pull the wrap off of the grip! 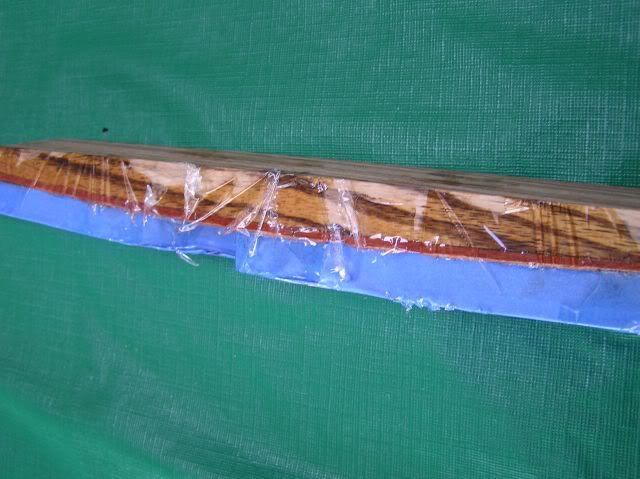 You always get interesting glue globs, they come off! (Hmmmm, looks like the wood I used mid-grip is going to give me just about the right color red! My buddy Bill gave it to me to try, I don't remember what the wood is. I'll have to ask him again.) 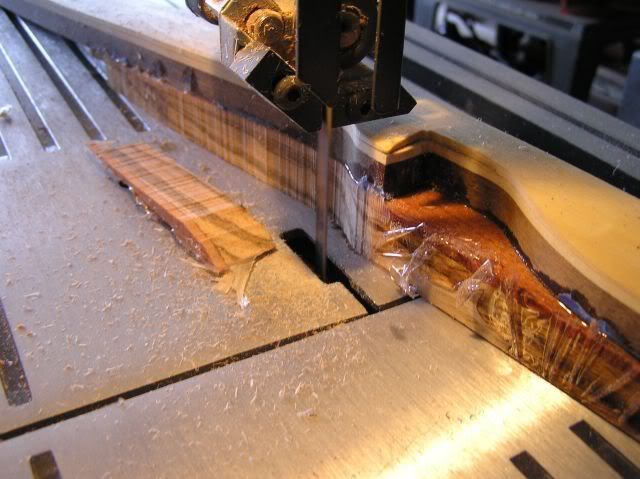 I start on the band saw, remove what ever wood is hanging over the roughed out form of the bow. 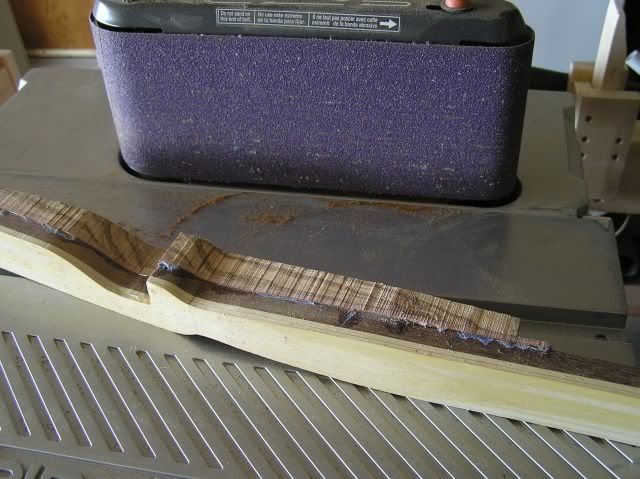 Then we head over to the sander… 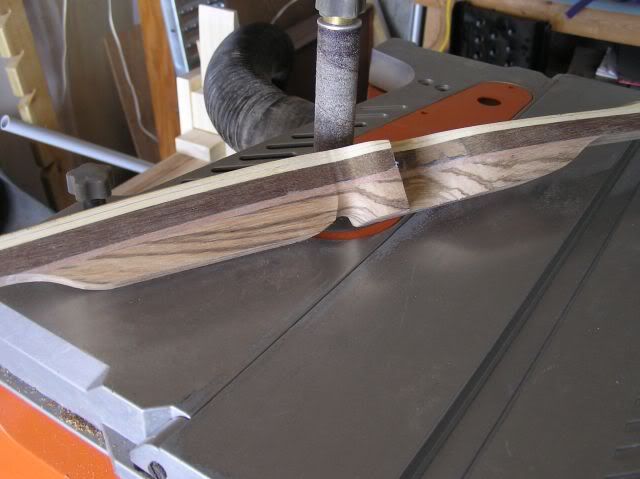 Once done, it looks something like the above picture. Still rather rough, but at least you can tell what it is. We will play some more with this, but not until we get the tiller set and it looks like we’ll get a bow. Once in a while, something goes wrong when you start to flex the limbs, so don’t put more time in to it than you have to at this point. Actually, I should not have put the groove on the back of the grip either. It will make it more difficult to set the bow on the tillering stick. (You’ll see what I mean in a bit.) |
|
smj
Forum Guide
  Traditional Council
Posts: 1,819
|
Post by smj on Jan 2, 2007 0:10:11 GMT -5
Let’s look at tillering the bow for a moment and see if we can figure out how to get started. The first stage is usually something called floor tillering. This is where we get the limbs to start to bend a bit. 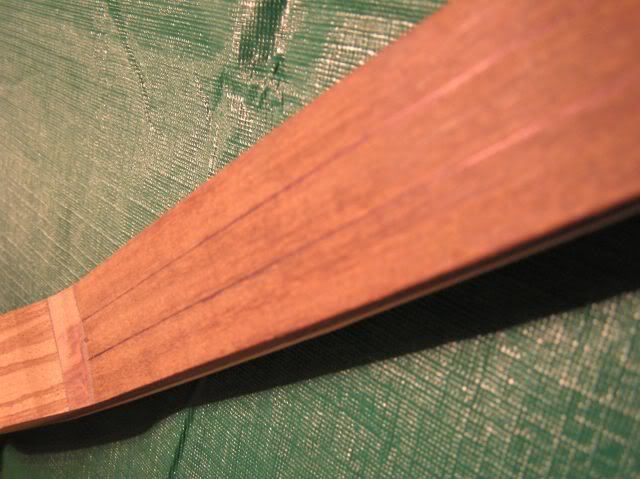 I start by marking the belly in to thirds, with the middle third, well, in the middle. 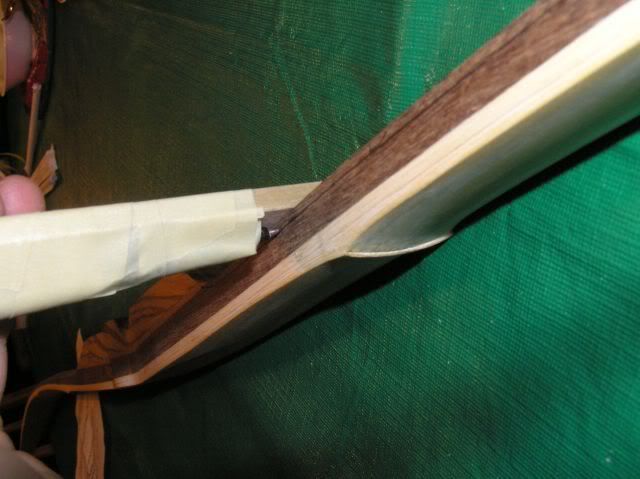 Then you want to mark the side, too, down about a quarter to a third of the thickness of the belly wood. This now defines a wedge of wood that we will remove. 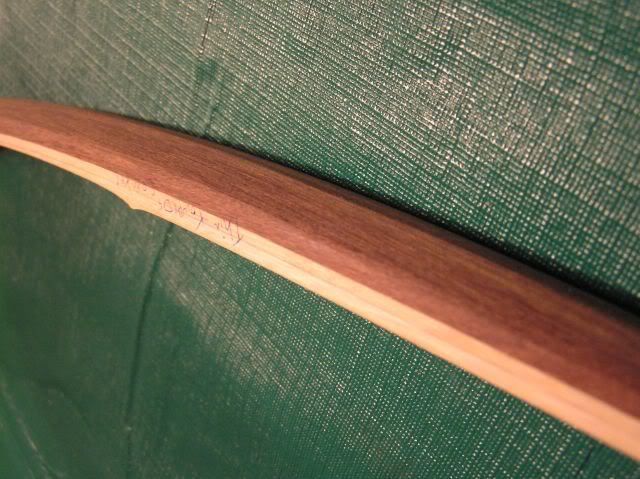 In this photo, I have remove the wood as defined above, but then also started to thin the limb a bit so that it started to flex for me. This is called floor tillering. Once the limb starts to flex, we can hang a scale on it and see what it takes just to flex the limbs a little.  Here is a peek at it before touching the belly wood.  Here we have it after removing the wedges as defined above, with about the same weight applied to the limb. You can see that the limb is starting to flex a bit, the reflex is giving it up! This is good. So now, I will need to remove a bit more wood from the belly, watching that I don’t over draw the bow before it is ready. To get good tiller, well, this is a bit of an art! However, anyone can do it. You will need to go slow, take wood off in small amounts, and try to have a game plan as to how you want to proceed. It helps. By the way, what I am doing here will work just fine for a flat bow without reflex or deflex. I suggest you start with one that is flat for a first bow. (Just for the curious… It is about 50 pounds at 4 inches right now! More of that belly wood will have to go.) |
|
smj
Forum Guide
  Traditional Council
Posts: 1,819
|
Post by smj on Jan 2, 2007 0:12:59 GMT -5
Hows about we put some nocks on this bow… 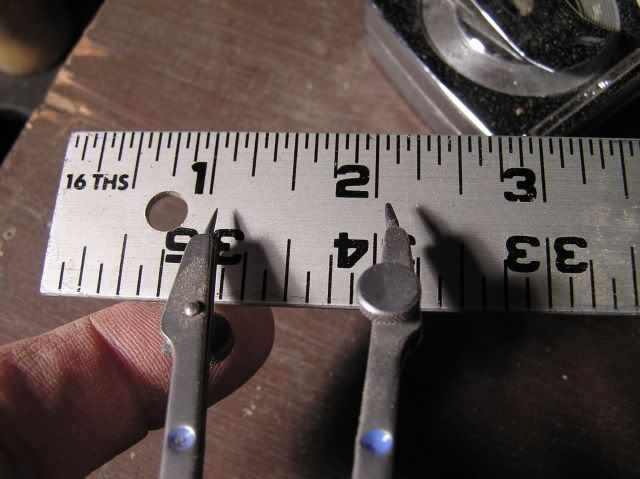 I start with setting a compass to a 1 inch gap. 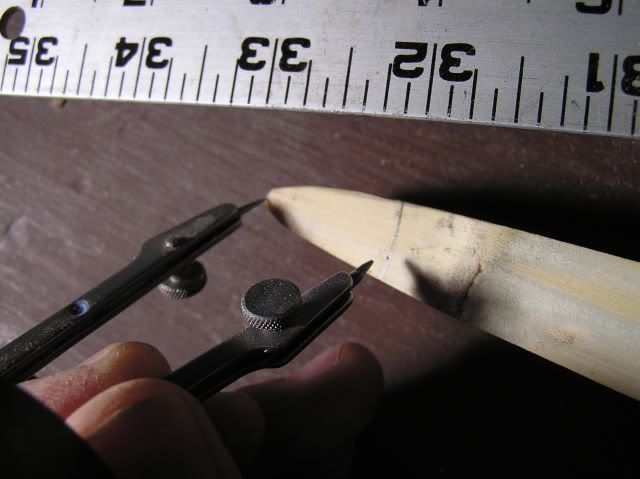 Then mark a line from side to side on the backing of the tip. This will mark where the nock will appear on the back of the bow. 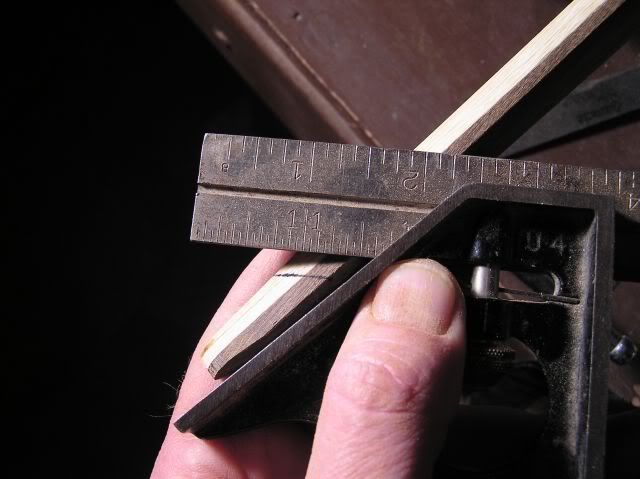 Next, we have to determine where the nock will appear on the belly side of the bow. You will want to mark a 45 degree line that angles towards the grip section. Where the line comes out on the belly side is where your nock should be. 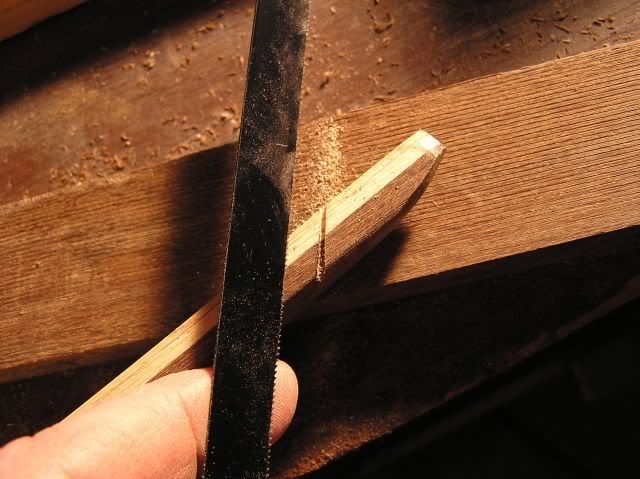 I like to create a guide for the nock by cutting along the line just drawn on the side of the limb with a hacksaw blade. You can measure the depth so that all nocks start out the same depth. 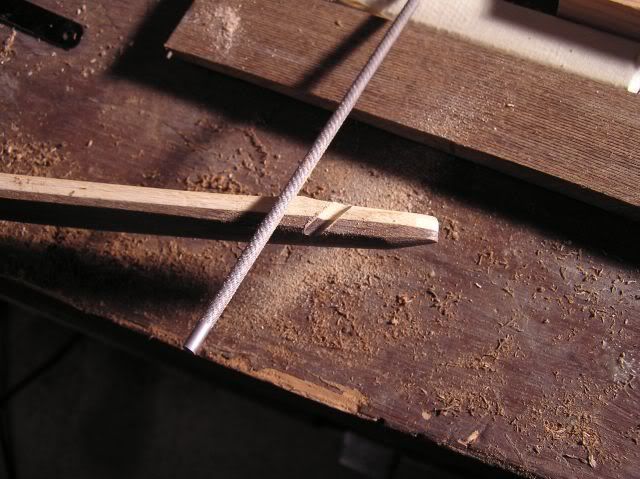 A chainsaw file is a cheap way to cut the nock grooves. It gives enough width, and you can control the depth by watching the hacksaw groove disappear as you grind into the limb. Take the edge off of the nocks, if you don’t you can cut a string with ease. Also, where the nock comes out on the belly side of the bow, give a little relief towards the tip. This needs to be opened up a bit or the string will pinch there. If you leave it sharp it will cut the string after just a couple of draws. 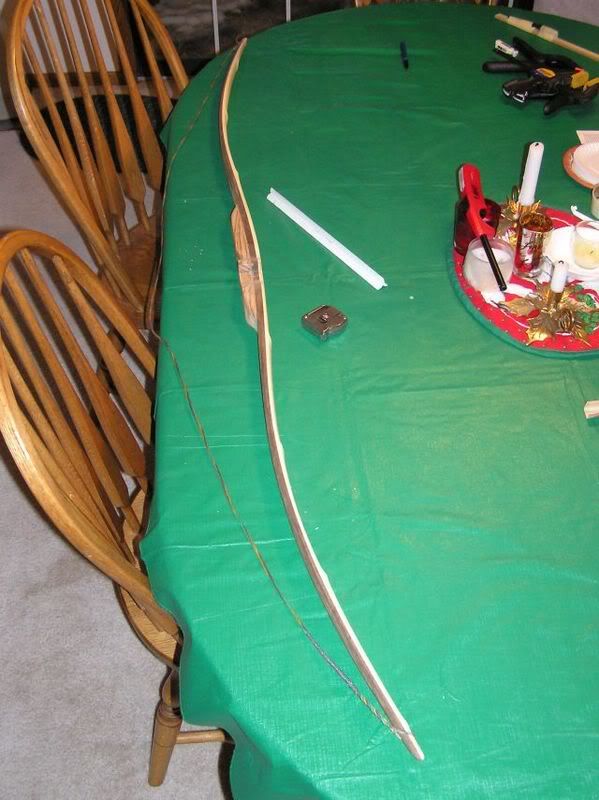 Here we are with a tillering string on the bow… It even looks a bit like a bow now! |
|
|
|
Post by BT on Jan 2, 2007 7:10:25 GMT -5
I am just sitting here smiling  This is great! |
|
smj
Forum Guide
  Traditional Council
Posts: 1,819
|
Post by smj on Jan 5, 2007 0:43:05 GMT -5
So, I am in the tillering stage, and have some things to post - but not the time to get it all written up and posted! I don't think I can get it done until the weekend. Yet, the limbs have been thinned a bunch, evened up, and right now for 8 inches of limb movement - we are at 38 pounds.
As an example bow, this thing is having all kinds of interesting things happen to it... I'll tell you the saga as soon as I can find some time. By the way, this being built in an hour here and there - which I recomend. Work a little, take some time off and think about how you want to proceed. You will make fewer kids bows and fire wood that way...
|
|