|
|
Post by BT on Feb 17, 2008 14:58:52 GMT -5
Amazing to me what you have access too in both tool and knowledge  |
|
smj
Forum Guide
  Traditional Council
Posts: 1,819
|
Post by smj on Feb 17, 2008 15:34:17 GMT -5
Sweet...nice job on the bamboo. I don't think it is too much information for those really trying to learn the craft. How did you learn the thicknesses you like? Trial and error? Does the thickness determine the draw weight or is it more a function of the material? I am guessing a combination of both.  Thickness of the bamboo is talked about by a lot of folks out there. The basic problem is that if the bamboo is to thick, it will master the belly wood. The result can be that the bow follows the string without mercy and has poor cast. The thickness 0.125 is a starting point, kind of a general guide line. You will also hear something like the bamboo should not be more than 1/3 the thickness of the belly wood. I like thinner tips, around 0.070 to 0.100 and at the grip less then 0.200 - typically around 0.150. I have found in my own bows that the taper throughout the limb gives great limb response. Also, I do everything I can to eliminate extra mass at the tips. The tip does nothing for the limb other than hold the string. It is mass that must be moved without contribution to the energy stored in the limb - and extra mass at the tips tend add hand shock and noise. I like a good cast, quiet action, and as little hand shock as I can get away with in my bows. Tapering the bamboo, and keeping it thin, is all part of the design to get me to the bow I like to shoot. I once did multiple layers of bamboo - the standard backing plus a thin layer between it and the belly. The bamboo ended up being about equal in thickness to the belly wood. The bow shot well and didn't follow the string so bad. I think this was due to the multiple glue layers, and that the bamboo layers themselves were kind of thin - no thicker than 0.125 each except at the nodes of course! The bow was an OK bow shooting wise, but I don't see the need for the extra layer of bamboo. Performance wise, it didn't seem to gain anything. Cost wise, it was more expensive to make. As to draw weight, the bamboo certainly adds to the draw weight of the bow. However, if it is kept thin, the belly wood is really what determines the bow, not the bamboo. The bamboo adds to the quickness of the limbs, helps the cast, but it is the belly wood that makes the bow. |
|
red
Forum Guide
 
Posts: 1,501
|
Post by red on Feb 17, 2008 15:42:38 GMT -5
Makes sense...great explanation.  |
|
smj
Forum Guide
  Traditional Council
Posts: 1,819
|
Post by smj on Feb 19, 2008 0:50:04 GMT -5
Time to glue things up! The bamboo needs to be scored with a hacksaw blade - the board also needs scoring on both the back - and the belly where the grip will glue. Looks like this, makes the joint much stronger - 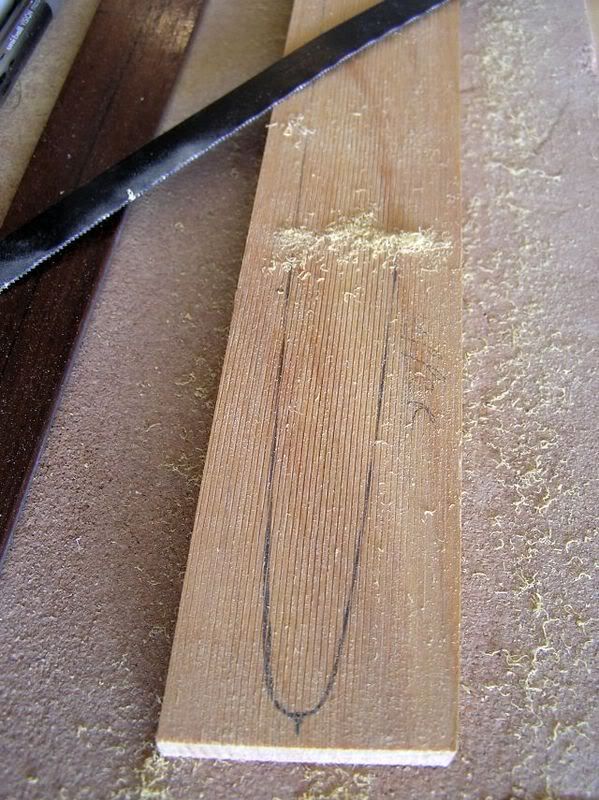 The belly needs to have a taper added to it so that it will flex evenly once on the jig. This is important, it is much more difficult to tiller limbs with sharp bends in them. I do this taper on the jointer, first I mark the 1/8" taper on the side of the board. This is so I have a reference. Make sure you mark the belly side of the board. Also, mark the dimensions of the grip on the belly, the taper goes from the end of the grip area out to the tip of the limb. (by the way, keep this grip section flat! Once bent, if not flat it is very hard to match a grip block to it.) 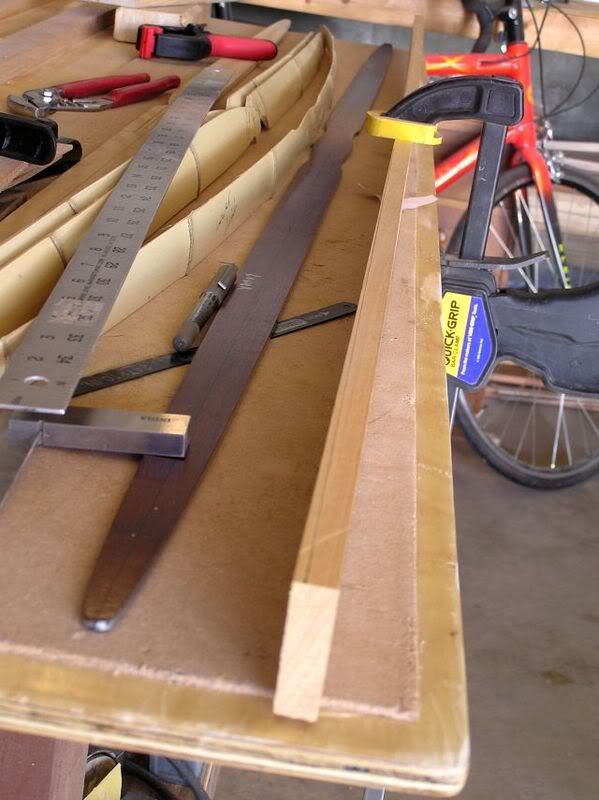 I do the taper on the jointer. I divide the limb up in to 4 even section between the grip and tip. Then I place some tape on the jointer marking how far back to draw the board each pass. 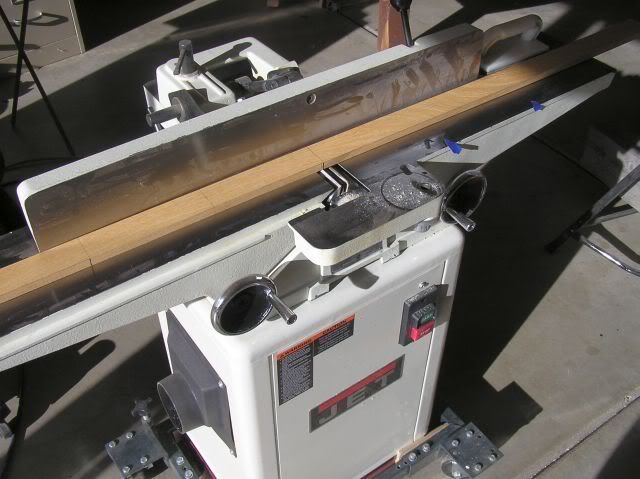 To make a taper on the jointer, you must do a multi pass. Start with the last section - at the tip. In this case, that is about 6 3/4" from the end of the limb. Turn the jointer on, with care, then drop the board on to the spinning jointer with the end of the board at the first tape mark out. Push the board on through and off the tip. Then pull the board back to the second tape mark, drop the board again and push it through and off the tip. If you take a 1/32" cut each pass, in 4 passes you will remove 1/8" off the tip of the limb. So, if we look at our marked taper line after removing the wood, it looks like - 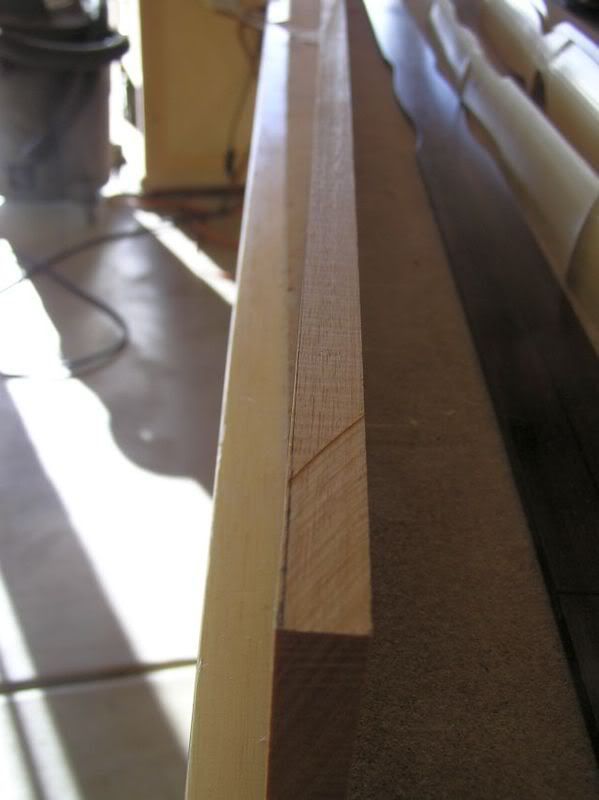 Then we do a preliminary fit to the jig, making sure there are no pops or cracks! - 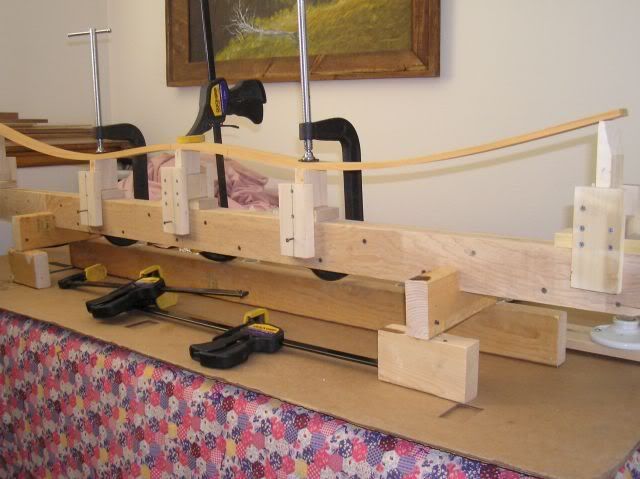 Check the tips for flex, make sure you like the curve, no tight bends, even flex throughout the tip due to our taper - 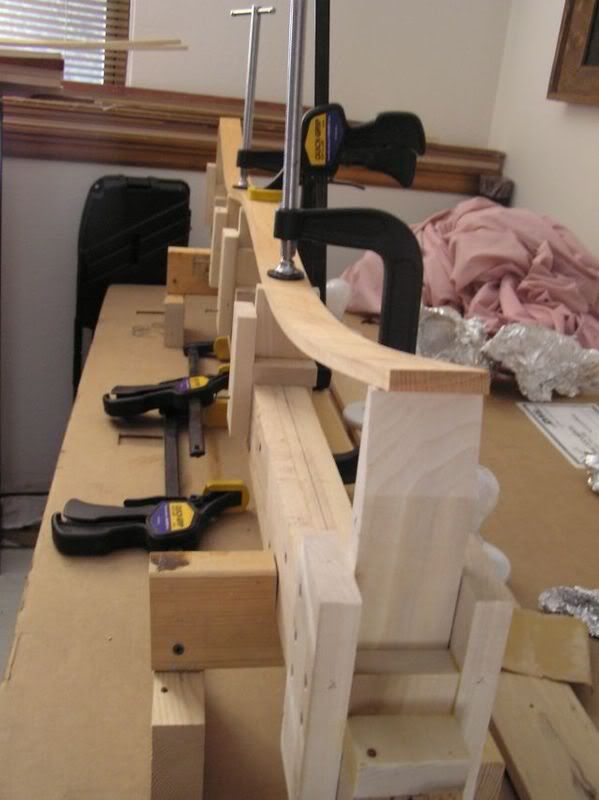 OK. We like what we see, now go through a pre-glue setup. This means put on all your clamps and make sure that you've got it all lined up right, enough clamps to do the job. This is very important, you won't have time to find stuff once the glue is on - the clock is running! In this case, I see I am missing a clamp or two for the limb tips - 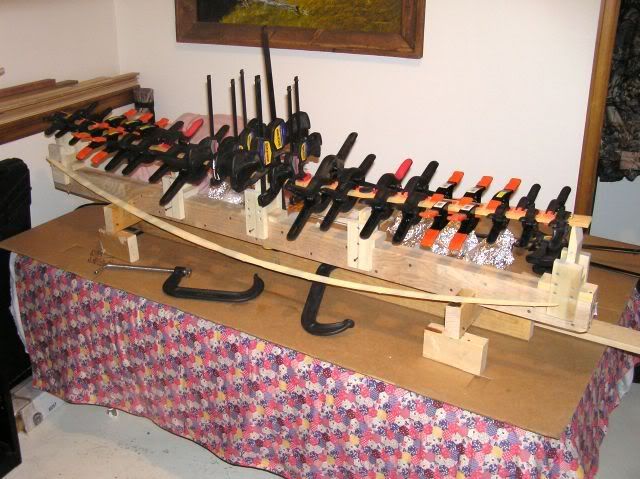 I found my missing clamp and then set out everything I will need to mix up the glue. The glue is by weight, URAC 185. I use a scale.  I put plastic wrap under the belly board, and set the bamboo just below it. I also tape the grip section on the belly so that the glue can not stick there. Everything is in place, glue is on - make sure that all glue surfaces are wet with glue. Do not allow any dry spots on any glue surface. 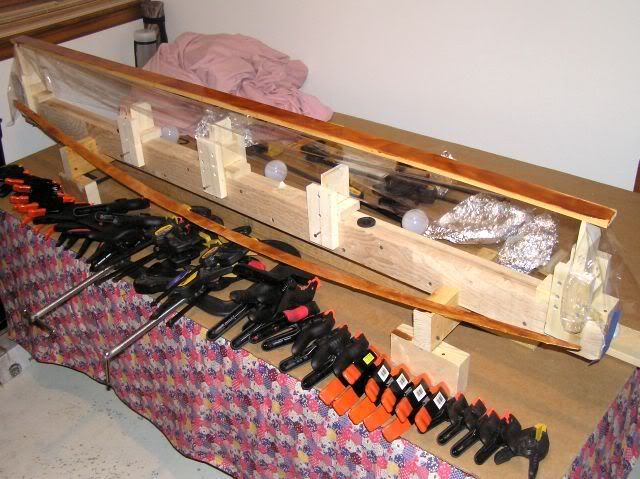 Note that I mark the pattern on the back side of the belly stock so that I can see some alignment marks during the glue up. Once you flip the bamboo over and lay it on the belly board, making sure that you have the lower and upper limbs in the right spots, I align the grip and tip sections to the marks. You may need to dig through some glue to check this. Then I tape the bamboo in place. This really helps to hold the bamboo where you want it. (The tape I used is blue, you can see it at several spots among the clamps.) Unless you have another person to help hold stuff, I suggest you tape it! The glue lubricates rather well while wet, surfaces tend to slip. Next I pull the plastic wrap up over the bow to keep the excess glue from getting on the jig, clamps, and everything else! Then align the board on the jig, apply the middle clamp and work towards the tips putting a clamp about every inch. Note that it looks a lot like the pre-glue... This is a very good thing!  Once the bow is ready, I put a couple trays over it and sheets to hold in a bit of heat. I turn on four 40W lights for a heat source, spaced equal distance the length of the jig. Once warmed up, it will keep the temperature around the bow between 75 and 80. 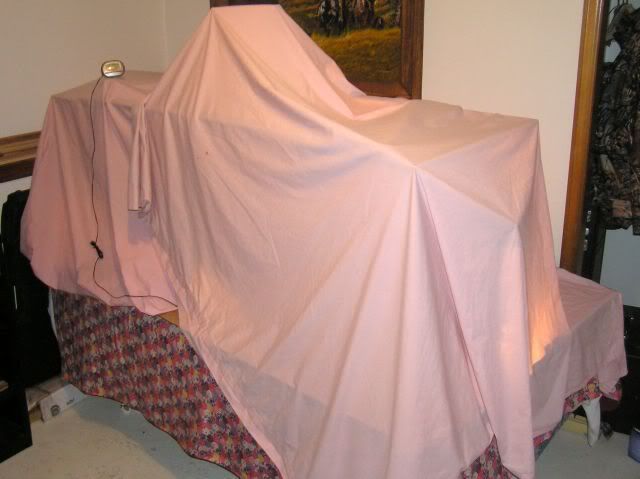 I let this set for about 38 hours, then turn off the lights and let it cool to room temp. Yes, 38 hours is excessive. |
|
smj
Forum Guide
  Traditional Council
Posts: 1,819
|
Post by smj on Feb 19, 2008 11:25:25 GMT -5
|
|
red
Forum Guide
 
Posts: 1,501
|
Post by red on Feb 19, 2008 12:18:57 GMT -5
Wow...enough good information that you should create your own how-to book.  Whereas I won't be building a bow any time soon, seeing the process certainly will increase my appreciation of the finished project.  |
|
smj
Forum Guide
  Traditional Council
Posts: 1,819
|
Post by smj on Feb 19, 2008 14:47:18 GMT -5
Funny you should mention that... I have been thinking about submitting an article to Traditional Bowhunter on how to do this. Break it up in to several issues worth of info. I don't know that I'd write a book on it, but something similar to what I am posting here, and before, I am wanting to try and see if anyone wants to publish it.
|
|
|
|
Post by huntbunny6 on Feb 19, 2008 15:25:41 GMT -5
Wow...enough good information that you should create your own how-to book.  Whereas I won't be building a bow any time soon, seeing the process certainly will increase my appreciation of the finished project. 
Thanks for a great post  |
|
red
Forum Guide
 
Posts: 1,501
|
Post by red on Feb 19, 2008 16:01:31 GMT -5
Wow...enough good information that you should create your own how-to book.  Whereas I won't be building a bow any time soon, seeing the process certainly will increase my appreciation of the finished project. 
Thanks for a great post  Is that the new secret-spy disappearing ink?  |
|
|
|
Post by huntbunny6 on Feb 19, 2008 16:18:16 GMT -5
nope , just picked a bad color ;D
there, thats better
|
|