Back to red's bow...
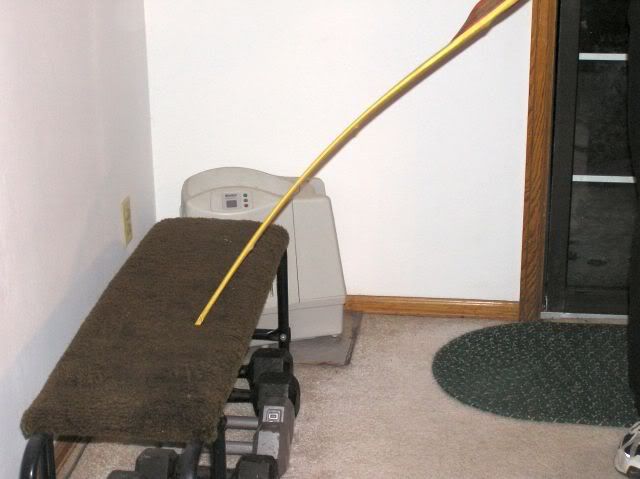
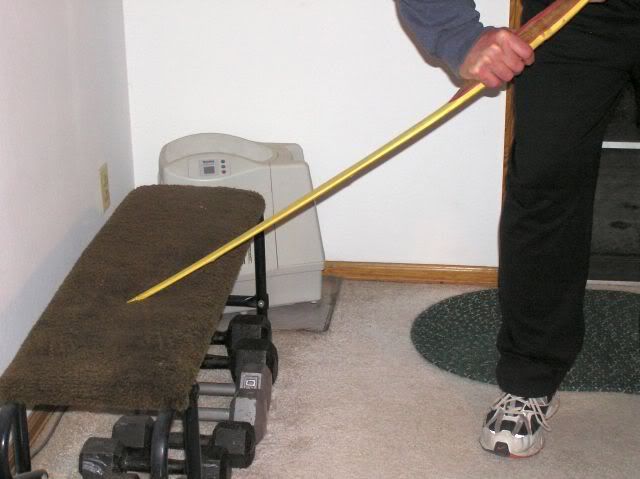
So, let's get to putting a string on this thing! I start out by doing a trim job on the limbs as mentioned and shown a few entries back. These facets you've made on the belly will now be used to control the tillering process. To change the tiller, remove wood from the center of the limb. To change the draw weight, remove wood in equal amounts from both of the side facets created on the belly stock. The next step, I floor tiller a bit. By this, I mean to say that I put the limb tip on the floor, or my bench, and flex the limb. The limb has to flex, or more belly wood has to be removed from the side facets until is starts to flex a bit. Looks like this -
Here is the limb unloaded, no flex, but in position -
Now I lean on the limb, supporting the bow at the grip and then also at mid-limb on the other limb, just enough to see that the limb will flex -
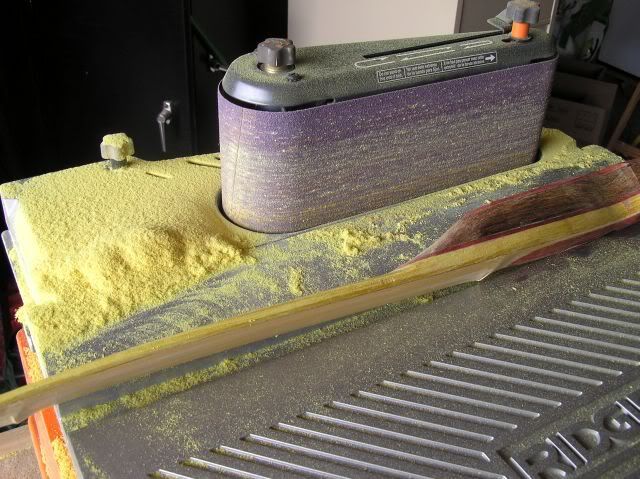
At this stage - I use a sander to help adjust the limbs to where they flex a bit. I take wood from both side facets and also a bit from the middle of the limb. I try to do this in equal amounts, quickly, but only in small amounts! WARNING - high speed belt sanders take off material very fast. If you pause for even a 1/4 second, you will get a non-even result that will cause additional problems for you. This needs to be done evenly, without forming thin spots in the belly wood. Play a bit with this tool before using it, or use a very fine sandpaper that won't allow for large operator errors! Of course, then you might as well use something else -
So, you now have a limb that moves, wiggles, shows some flex. Once the bow is ready for the tiller tree, you have to cut nocks in it so that a string can be used. Here are the steps I use -
Mark a 45 degree angle line where the limb measures at least 1/2 inch in width -
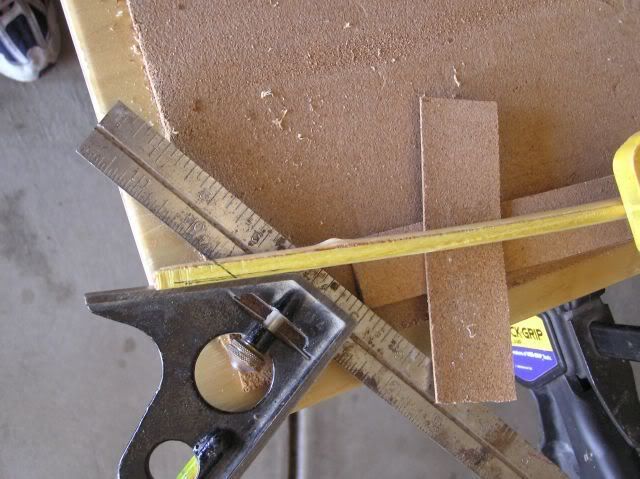
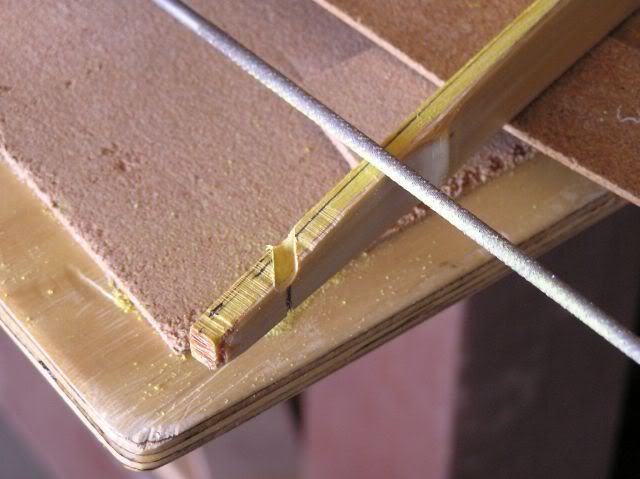
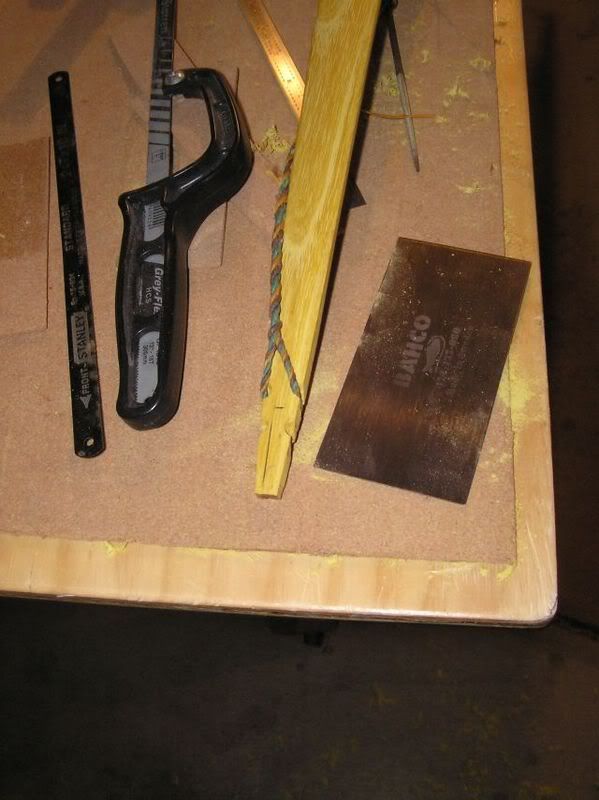
I use a hacksaw blade to cut the marked line out, and then also measure the depth of the cut to 0.1 inch or a bit more -
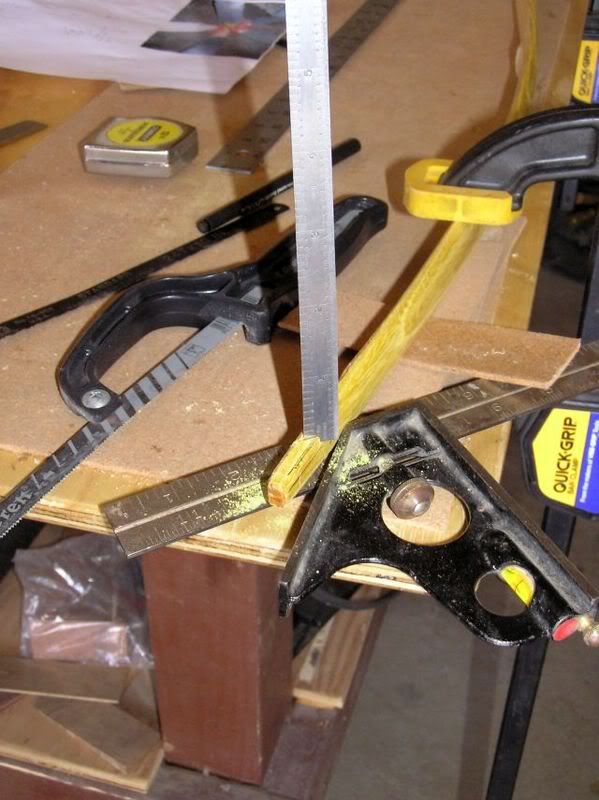
Then with a chain saw sharpening file, I cut the nock out. You can watch the hacksaw cut that was made, when the cut from the blade goes away then you know what depth you've filed down to. Or you can just eye-ball the whole deal like most do! I like to measure a few things out -
At this point, I put the bow on the tiller tree... I must apologize to all of you - the pictures I took of this part turned out so badly I will have to redo them. For example -
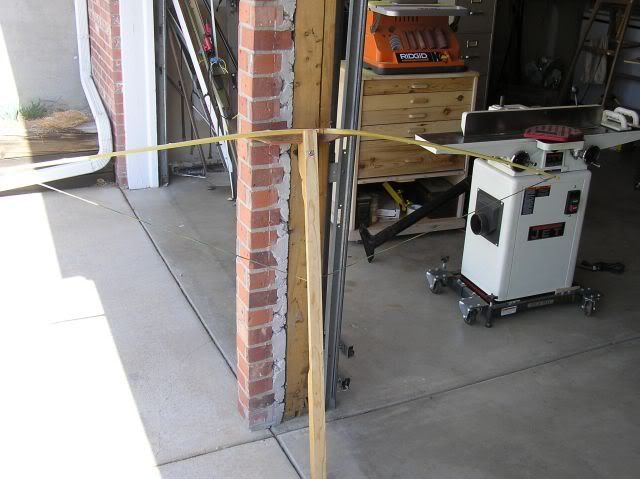
I do not have a clear spot to take these photos handy and the backgrounds are so distracting that, as you can see above, they are of little worth. However, at this step, I use a spokeshave to try to get the limbs to appear close to the same flex and strength. I think it important to get the limbs close to being the same strength before you string the bow for the first time. If one limb is way strong it can put a most unusual flex in the other weaker limb. I gage this by looking at the two limbs and eye-balling the flex of each limb - do they look equal? It is hard to see what with the clutter in the background, but in the above photo one limb is almost straight out while the other seems to bend at the mercy of the first! So, again, a spokeshave is the tool of choice for removal of some belly wood to match this up better. Again, remove wood from the two side facets, then a bit from the middle to keep the limb balanced and to reduce the strength of the limb and increase flex. As the strong limb begins to appear to match the weak limb, I get rid of the spokeshave and go with a cabinet scraper. To give you an idea of the difference, here is a photo with a sample of the results of a spokeshave and a cabinet scraper -
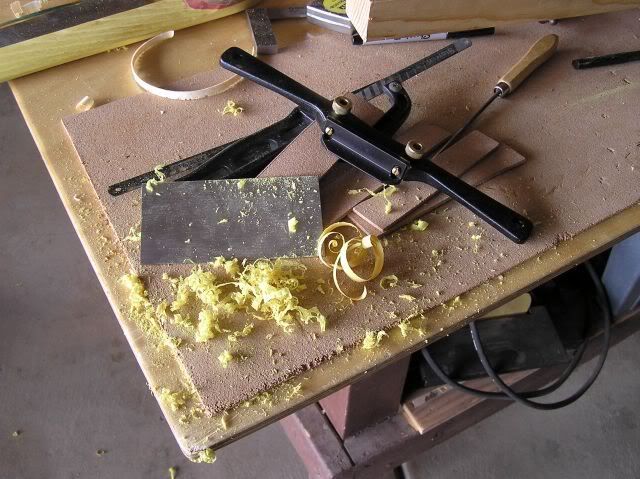
The thicker shavings (on the right) are from the spokeshave. Of course, this can be adjusted as well, but I really like the scraper for fine adjustments, and will use it and a palm-sander for the rest of the job here!
Very important here - as you remove wood you must flex the limb. I continue to flex the limb on the bench and well as doing 20 or 30 short flexes on the tree before pegging the bow to check what the effects were of removing some wood. Wood has a memory. When I am doing the fine tune, every time I remove some wood I shoot the bow 30 times and then check the tiller changes. At this point, since we are not yet shooting the bow, you can still flex the limb. However, I don't like to flex the limb much more than it will have to flex to be strung at a standard brace height. Again, wood has a memory - you don't want to over flex the limb and introduce unwanted memories!
If one limb seems way stiff, or strong, when compared to the other, you can remove a bit from the length of the weaker of the limbs if you have enough length to do so. In this case, red has a shorter draw length than I so I knew I'd want to reduce the nock to nock length anyway so it was a natural thing to do. I take about 1/2 inch off of the weaker limb at a time, no more. After adjusting, both appear to be very close in strength now. Again, if the limbs are not close to the same strength one can over-power the other and put some rancid bends in the weaker limb. When I put a string on for the first time, I like a long string that will allow the bow to go back to the relaxed shape, but under tension. This allows me to make sure that the string is in the center of the bow - which I think important! If it is not, then you need to adjust your tips and nocks to make it so.
In this case, since I wanted to shorten the bow to 66 inches nock to nock anyway, I removed a bit of length from the upper, weaker, limb. My design is for a 2 inch longer upper limb at 68 inches, I want the limb difference to be less than that at 66 inches, so this played very well for me this time. Redo the nocks, and cut off the extra.
Now that the limbs are a better match, we can string the bow to check the centerline of the string -
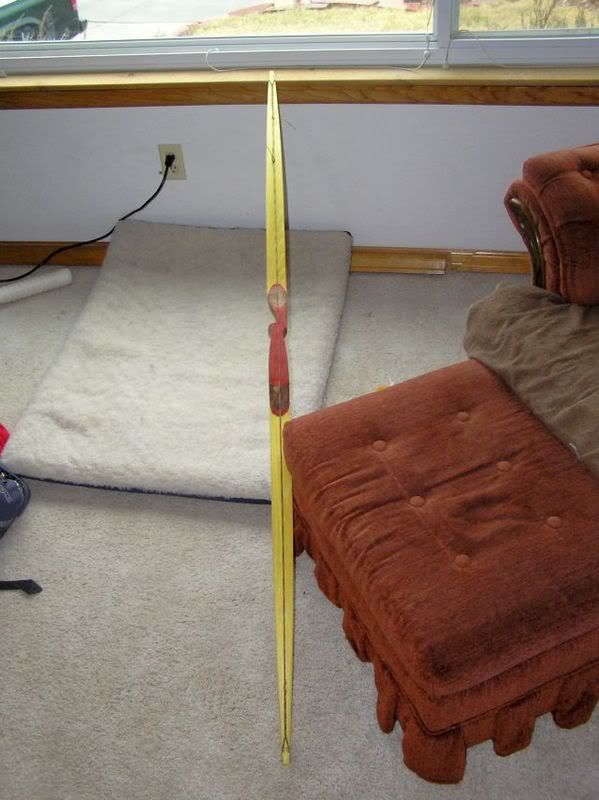
Looks good - I think we are about to have a bow here!
I will now string the bow, and tillering takes on a different feel... I'll explain in my next posting!