Post by FlyinCedar on Apr 24, 2006 0:21:45 GMT -5
First of all, I want to apologize for the size of some of the pics....I could not get them to properly resize
. We are going to make some cedar arrows, and do them as easliy as possible..nothing fancy. I personally like using Bohning products, but if you don't wanna spend the extra money, you can use acrylic paints and poly finishes instead. That is how we will do these.
First, you obviously need some cedar shafts....We will be using 11/32 Port Orford Cedar shafts.
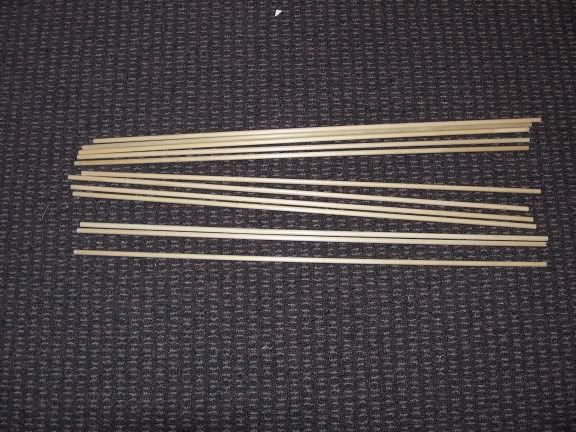
You need to LIGHTLY sand the shafts, to smooth them a little..most of the time, they will have a slightly shiny appearance...sand them until this is gone...use 220 grit sand paper, and make sure you are getting all around the shaft...you don't wanna change the shape....
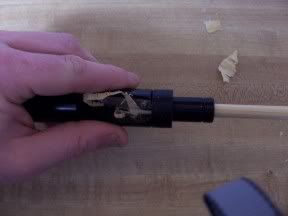
Next, we need to do our nock tapers....there are many taper tools available, I like the Tru-Center taper tool..ya gotta play with the blades a little to get it set right though...do this on a test shaft or 5/16 dowel...one setting will work for 5/16, 11/32, and 23/64 shafts. The Tru-Center tool comes with a guide for all three sizes, and does point and nock tapers.
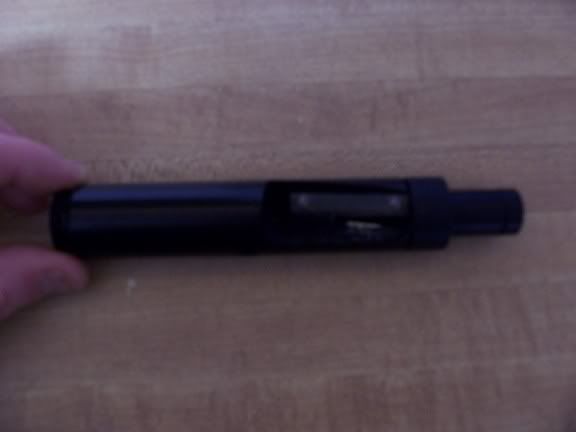
It works much like a pencil sharpener..just insert the shaft and turn....
Once all of your nock tapers are done, its time to apply whatever type of stain you want...for this we are using Minwax Dark Walnut stain...just wipe it on with a paper towel...you may want to wear gloves for this part.
After your stain is dry, apply your first coat of finish... spray on water based polycrilic works well. Put on one coat, let it dry, rub with #0000 steel wool, then put on another coat, and rub it with steel wool also once it is dry.
Next we need tomark our area for crown dipping...I like to use the blue painter's masking tape, as it won't peel off the coats of finish you just put on.....
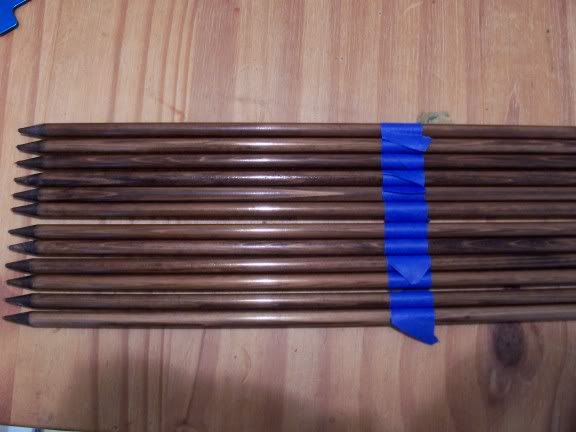
For the crown dip, we are using white acrylic latex paint. You will need to thin with water a little, because it will be too thick right out of the can....if you get it a little too thin, you can apply more coats. Dip until you get a little paint on your tape...ne need to go very far up on the tape. hold the shaft over the dip tube until it stops running and starts dripping, then peel off the tape, and hang the shaft upside down to dry.
Onceit is dry, use a pencil tomark the area for your cresting bands, if you wish to put them on. I always mark at least the larger areas that I will be painting....
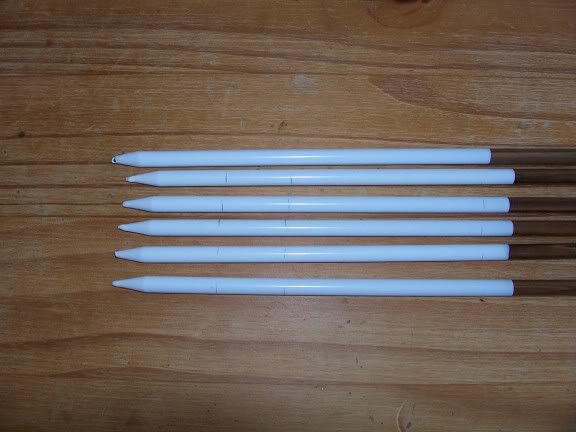
If you don't have a crester like this one,
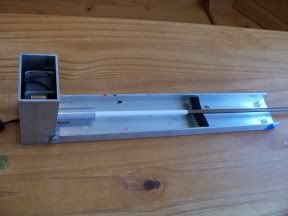
you can actually just put the point end (or what will be) of the shaft in a drill, and use that to spin the shaft for cresting. If you do it this way, make sure you have something soft to support the shaft, or it will wobble all over the place. You may need to play with the drill set up to get it to spin true, but it works...thats how I started.
For cresting,we will use Testors acrylic model paints. You on;y need light pressure on you brush. You want to apply several thin layers of paint. Thick paint will become unmanageable, and cause runs in your bands.
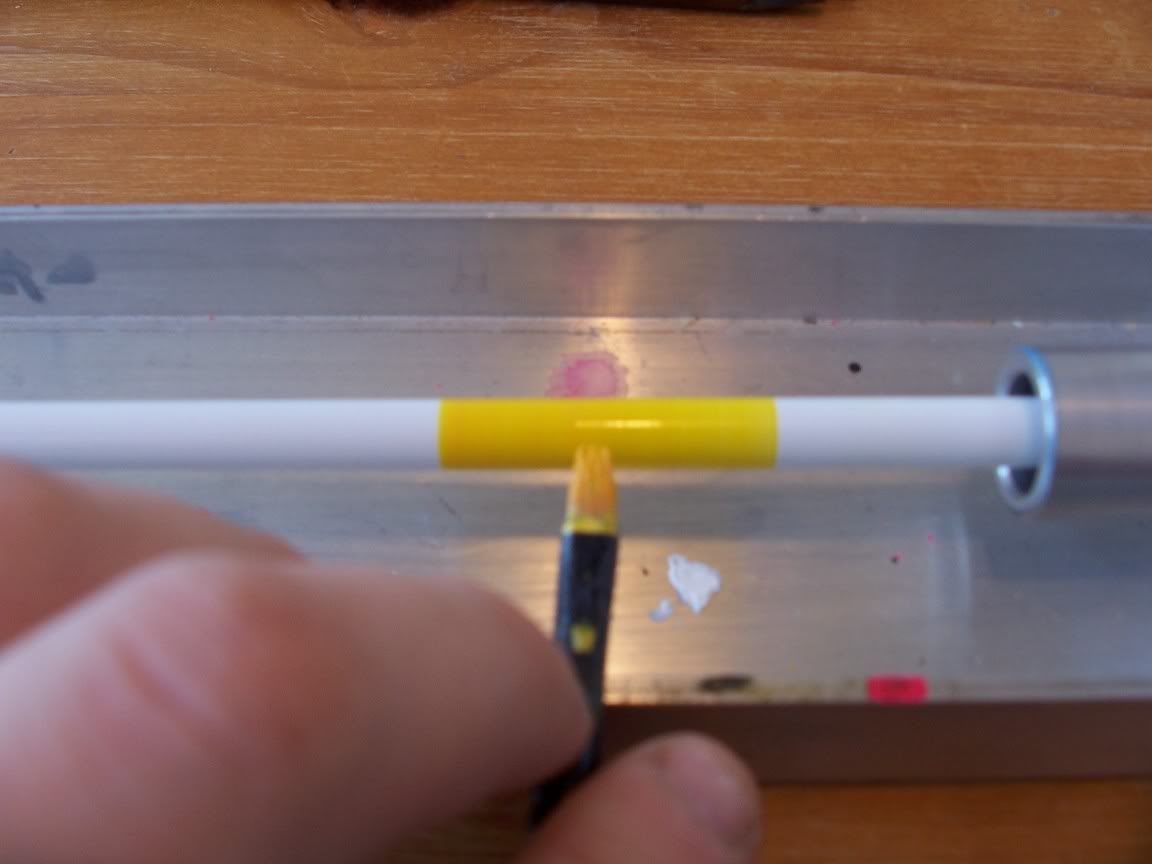
Here is the shaft after one coat...it will darken a little as you apply more coats of paint.
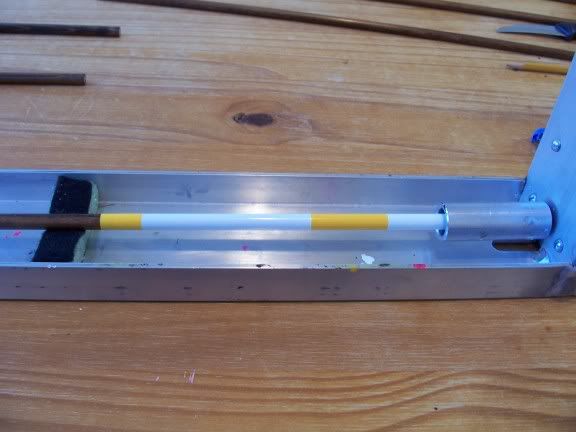
Make sure you allow plenty of drying time before you apply the next coat.....You can set that shaft aside to dry, and apply the first coat to another shaft so you don't have to sit around waiting on that one shaft to dry. Once you have the color coverage that you want, and it is dry, you can move on tofiner lines with a finer brush. I like to do all of one color before moving on to another color. Let's add some black lines to these shafts.....
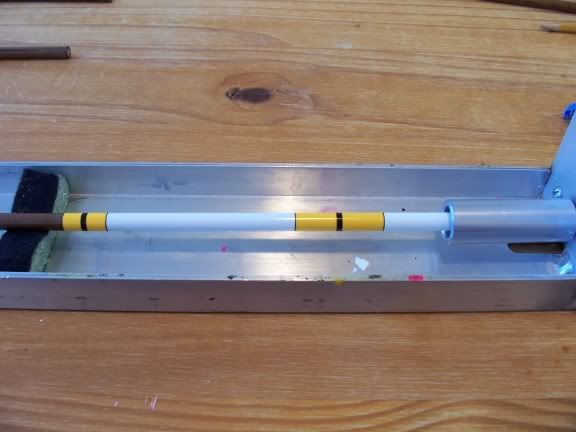
Once we have those on, we can add a little silver...
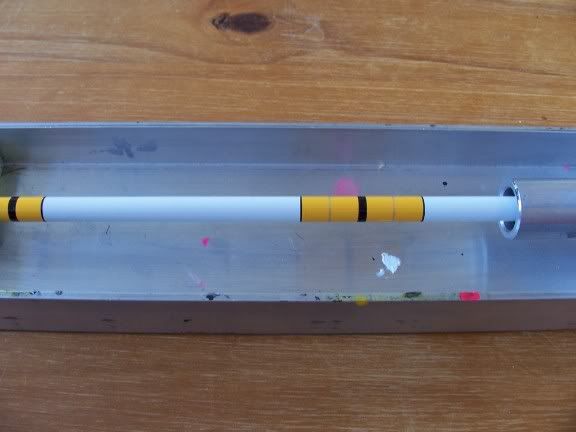
Once these are all dry,our shaft it ready for finishing. I would recommend at least two more coats of the spray on poly, applied the same as before, but don't use the steel wool after the last coat.
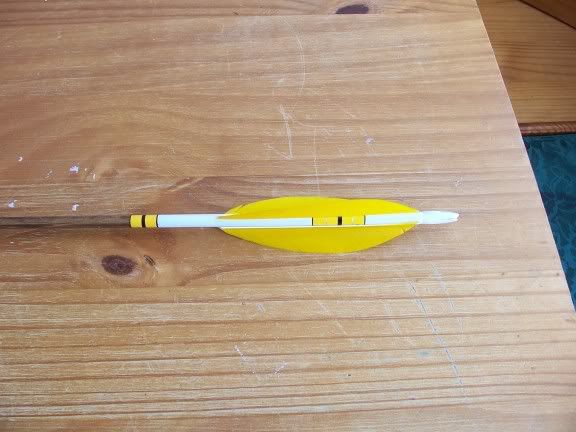
Now it is time to install out nocks and fletch our new arrows. We are using Bohning classic index nocks, and Left Wing feathers that I cut from full length with my banana chopper...
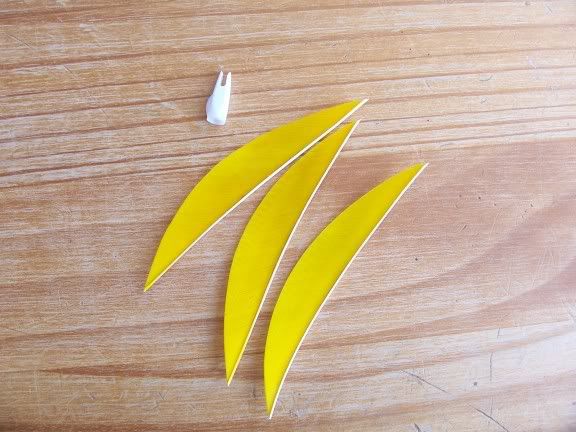
Use Duco cement to attach your nocks...when you attach these, you want the natural grain runouts (where the grain pattern comes to a point) oriented on the top and bottom of the shaft. This will cause less flex when you shoot the arrow.
Once the nocks are installed, you can cut and taper the point end of your shaft. Length is up to you. I draw 26", and use an arrow that is 27"from the bottom the nock groove to the back of the point...this is commonly referred to as your BOP length. My taper tool is set to make a 1" taper, so I will cut my arrows to 28", then use the other end of the Tru-Center tool to make my taper.
For fletching, i use Bohning Fletch Tape....the best thing since sliced bread in my opinion....after the feather are on, put a small drop onf glue on the front and back of the feather quill, and Voila!!! You have just made your first cedar arrows....the only thing left to do is install you points and go shoot them. There are many things you can install points with, I use Ferr-L-Tite hot melt, but you can also use a quick drying epoxy, or whatever you wish that will hold the point securely.
Here is the finished product...after, of course, I took it out and let it fly a few times....
Hopefully this gave you a decent over view of how to make cedar arrows. Chances are, you may run into problems when doing this for the first time....I always keepplenty of acetone on hand in case I need to strip a shaft and start over...If you have any question, just ask...I will help you in any way that I can.
FC
. We are going to make some cedar arrows, and do them as easliy as possible..nothing fancy. I personally like using Bohning products, but if you don't wanna spend the extra money, you can use acrylic paints and poly finishes instead. That is how we will do these.
First, you obviously need some cedar shafts....We will be using 11/32 Port Orford Cedar shafts.

You need to LIGHTLY sand the shafts, to smooth them a little..most of the time, they will have a slightly shiny appearance...sand them until this is gone...use 220 grit sand paper, and make sure you are getting all around the shaft...you don't wanna change the shape....
Next, we need to do our nock tapers....there are many taper tools available, I like the Tru-Center taper tool..ya gotta play with the blades a little to get it set right though...do this on a test shaft or 5/16 dowel...one setting will work for 5/16, 11/32, and 23/64 shafts. The Tru-Center tool comes with a guide for all three sizes, and does point and nock tapers.

It works much like a pencil sharpener..just insert the shaft and turn....

Once all of your nock tapers are done, its time to apply whatever type of stain you want...for this we are using Minwax Dark Walnut stain...just wipe it on with a paper towel...you may want to wear gloves for this part.
After your stain is dry, apply your first coat of finish... spray on water based polycrilic works well. Put on one coat, let it dry, rub with #0000 steel wool, then put on another coat, and rub it with steel wool also once it is dry.
Next we need tomark our area for crown dipping...I like to use the blue painter's masking tape, as it won't peel off the coats of finish you just put on.....

For the crown dip, we are using white acrylic latex paint. You will need to thin with water a little, because it will be too thick right out of the can....if you get it a little too thin, you can apply more coats. Dip until you get a little paint on your tape...ne need to go very far up on the tape. hold the shaft over the dip tube until it stops running and starts dripping, then peel off the tape, and hang the shaft upside down to dry.
Onceit is dry, use a pencil tomark the area for your cresting bands, if you wish to put them on. I always mark at least the larger areas that I will be painting....

If you don't have a crester like this one,

you can actually just put the point end (or what will be) of the shaft in a drill, and use that to spin the shaft for cresting. If you do it this way, make sure you have something soft to support the shaft, or it will wobble all over the place. You may need to play with the drill set up to get it to spin true, but it works...thats how I started.
For cresting,we will use Testors acrylic model paints. You on;y need light pressure on you brush. You want to apply several thin layers of paint. Thick paint will become unmanageable, and cause runs in your bands.

Here is the shaft after one coat...it will darken a little as you apply more coats of paint.

Make sure you allow plenty of drying time before you apply the next coat.....You can set that shaft aside to dry, and apply the first coat to another shaft so you don't have to sit around waiting on that one shaft to dry. Once you have the color coverage that you want, and it is dry, you can move on tofiner lines with a finer brush. I like to do all of one color before moving on to another color. Let's add some black lines to these shafts.....

Once we have those on, we can add a little silver...

Once these are all dry,our shaft it ready for finishing. I would recommend at least two more coats of the spray on poly, applied the same as before, but don't use the steel wool after the last coat.
Now it is time to install out nocks and fletch our new arrows. We are using Bohning classic index nocks, and Left Wing feathers that I cut from full length with my banana chopper...

Use Duco cement to attach your nocks...when you attach these, you want the natural grain runouts (where the grain pattern comes to a point) oriented on the top and bottom of the shaft. This will cause less flex when you shoot the arrow.
Once the nocks are installed, you can cut and taper the point end of your shaft. Length is up to you. I draw 26", and use an arrow that is 27"from the bottom the nock groove to the back of the point...this is commonly referred to as your BOP length. My taper tool is set to make a 1" taper, so I will cut my arrows to 28", then use the other end of the Tru-Center tool to make my taper.
For fletching, i use Bohning Fletch Tape....the best thing since sliced bread in my opinion....after the feather are on, put a small drop onf glue on the front and back of the feather quill, and Voila!!! You have just made your first cedar arrows....the only thing left to do is install you points and go shoot them. There are many things you can install points with, I use Ferr-L-Tite hot melt, but you can also use a quick drying epoxy, or whatever you wish that will hold the point securely.
Here is the finished product...after, of course, I took it out and let it fly a few times....

Hopefully this gave you a decent over view of how to make cedar arrows. Chances are, you may run into problems when doing this for the first time....I always keepplenty of acetone on hand in case I need to strip a shaft and start over...If you have any question, just ask...I will help you in any way that I can.
FC

