|
|
Post by Buckshot06 on Apr 2, 2009 7:12:21 GMT -5
Thanks smj  I will sit back and read on the progress of your bow building. I will pop in and out from time to time to ask questions. So let the building of the two bows begin. |
|
smj
Forum Guide
  Traditional Council
Posts: 1,819
|
Post by smj on Apr 2, 2009 8:18:09 GMT -5
So let the building of the two bows begin. OK! My problem here is that I work in the garage... The weather has not been cooperating! Either the wind is blowing right into the garage - which puts dust everywhere - or the snow is blowing around like crazy every time I have a chance to get them going! Last Thursday we had 10 inches. Last night we had an inch or two, and right now it is 10 F. In between, we had nice warm days, the 10 inch snow is gone, but it was very wet! This Saturday, it is supposed to snow again, maybe as much as last Thursday! So, I am trying to get them going, just waiting on the weather... Ah, spring time in the rockies I guess! And yes, the spring flowers are popping all over the place, trees are starting to bud out, and in places the grass is getting a bit green again. I also need to be on the bike for the ride I am going to try to do come July... Not getting much bike time either! Hang with me, we'll get this going! |
|
|
|
Post by Buckshot06 on Apr 2, 2009 19:25:00 GMT -5
|
|
smj
Forum Guide
  Traditional Council
Posts: 1,819
|
Post by smj on Apr 5, 2009 12:10:22 GMT -5
So, yesterday it was snowing and blowing like crazy and the temp dropped like a rock. Today, the sun is out and the temps are coming up - very slowly indeed. I think it's still 28 in my garage! Still, I picked a template and the bamboo to use on this bow, and will get started with the bamboo once it warms a few degrees... I just can't do this work with gloves on! Anyway, we are moving, a only a little, but we are moving! I hope to get the bamboo at least flat this afternoon or tomorrow after work.
|
|
|
|
Post by easternhunter on Apr 5, 2009 18:27:33 GMT -5
SMJ, what is your procedure for flattening bamboo? I've read that Dean Torges uses a convex toothing plane stating that this is the way to get a truly flat back on the bamboo....I don't really understand this unless the bamboo slightly flexes in cross-section when pressure is applied with a plane or sander. meaning that the belly bulges some??? Does that make any sense???
|
|
smj
Forum Guide
  Traditional Council
Posts: 1,819
|
Post by smj on Apr 6, 2009 7:36:07 GMT -5
SMJ, what is your procedure for flattening bamboo? I've read that Dean Torges uses a convex toothing plane stating that this is the way to get a truly flat back on the bamboo....I don't really understand this unless the bamboo slightly flexes in cross-section when pressure is applied with a plane or sander. meaning that the belly bulges some??? Does that make any sense??? It is said that if you want a flat surface, use a convex blade in your plane. If you want a curved surface, use a flat blade in your plane... I use a jointer to waste off most of the material I want removed. This leaves it rather flat. Then I use a hand plane, with a flat blade, to take off the rest... Like, any extra thick sections. Keep in mind that bamboo is not uniform in thickness as it grows! A jointer take the same off everywhere. With a hand plane, you can take a bunch off where ever you want, as much as you want. When done, what you really want is as very nearly uniform thickness down the center of the bamboo. The edges will be thinner, obviously, due to the radius of the material - Unless you can find bamboo of unusual girth! The smaller diameter the bamboo, the more severe the radius. Anyway, once the bamboo is flat, whether you use a hand plane or a jointer or a belt sander, you have to make this surface so that it will sit down flat against another surface, the belly of the bow. Dean uses a convex toothing plane for two reasons: the toothing plane leaves lots of little grooves in the surface, which helps with the glue up. In short, you can squeeze the snot out of the joint, but the glue will not all squeeze out. If the glue does squeeze out, the joint is said to be starved and usually won't have enough glue to hold the joint together, hence, the joint fails and the bow comes apart. The other reason is that you can get a surface that is slightly, not just flat, but just a tad concave. A very slight tad... It assures that the surface is not convex, which would tend to starve the joint when pressed together or maybe not sit together with the belly along the edge of the bamboo. Also not good. When you put your clamps on, the bamboo will flex just a bit and sit very flat to the equally treated belly stock. Keep in mind, this is a very slight amount, very slight. Perfectly flat, with the added glue lines from the toothing plane, would work just perfectly. So, you really done want much more than a flat surface. I don't have a toothing plane. I would like one, but am to cheap to spend the bucks they want to buy one... A very proud tool indeed. SO, I use a hacksaw blade, well curved, as a substitute toothing plane. So far, it has worked very well. It is a much slower process though. I use it until the belly and bamboo sit flat to each other when clamped together, all along the entire edge. If a section of edge sits high, off of the belly wood, I keep going and working it. Then I glue the two up. By the way, if the surface were 100% flat - and you left the wood or bamboo for a day or so, and the humidity changes, your flat surface could change a bit. The guys making glass backed bows don't seem to suffer much from all of this. They seem to be able to just slap it all together without much bother. Maybe the glue they use, maybe thinner wood/bamboo with a higher pressure pushing the parts together? That is my guess, anyway. The parts just flatten out for them due to the pressure and jig they use. The glue might be a better glue, too, but I don't like to spend that much for glue. I like Urac 185 for my bows. eastern, does that answer your question? |
|
|
|
Post by easternhunter on Apr 6, 2009 8:30:19 GMT -5
Yup, absolutely. So you use the convex toothing treatment to bring both surfaces together....Until I read this little tidbit of D. Torges, I thought flat was flat.... I've been lucky so far then.....Although I have used an old (coping?) saw blade flexed to provide rigidity and to groove the wood before glue-up...maybe I was doing exactly this without realizing the science behind it.  Yeah, toothing planes are pricey! A blade alone is almost 40.00 bucks up here. Thanks Smj. |
|
smj
Forum Guide
  Traditional Council
Posts: 1,819
|
Post by smj on May 7, 2009 20:17:56 GMT -5
Whew! Seems like for ever since I've been on... Sorry about dropping off the edge of the world for a while, right after saying we were off to build a bow, but some times life gets in the way. A few weekends ago the little town up the hill from me had something like 56 inches of snow, we had 12 with the balance in rain. The next weekend, we only had 3 or 4 inches of snow... Then I was out of town checking colleges with my daughter a few weekends, work has been demanding - but now I am back and actually have a bit of time to spend on joyful pursuits! Of course, my daughter just came up to me to inform me that we are going for a bike ride. OK. I have a host of pics to post and verbage to work out! Anyway, let me see if I can get this train back on track - sorry for the delays... Bike ride, and then I'll post a couple pics and write up a few things! Honest...
|
|
smj
Forum Guide
  Traditional Council
Posts: 1,819
|
Post by smj on May 7, 2009 22:58:06 GMT -5
So - off for a bike ride with my daughter, then we get back and she says "I need the computer - I have research to do..." Seems to be that way anymore... What do kids do that don't have computers at home??? If I want on-line, I have to wait until midnight some nights. Well, I digress... So - here are the materials to be used, plus a couple of other items... There is an ipe bow getting close, a hickory bow, and the pattern we are about to use -  The board is ipe, and there are 6 bamboo slices wrapped up as they came from Rudderbows. In volume, the price can be dropped a bit from individual prices. Here is a closer look at those bows - note the pattern and the hickory bow are more simple - easier to make. This is what we are going for as a first bow. Easy is good... The ipe bow, brown wood, is more the style that I am making after more than a few headaches! The limb is way large where the work is done, way small at the tip for several reasons we can go in to later.  So, we cut a slice off the ipe board, nothing grand, just a blank we will shape to eventually form a bow. Off end -  Down the length, plus a selection of bamboo -  Note that as you look down the length, the grain seems to run off to one side... We are putting a bamboo backing on this board, the grain can run off to one side like this, it will not hurt since we are backing this bow with the bamboo. Also note the riff cut seen on the end view - again - this works fine for what we are going to do. I might look for a better board if I were making a selfbow. The bamboo ... will have to wait until tomorrow. I am being put off the computer again. Sorry! |
|
smj
Forum Guide
  Traditional Council
Posts: 1,819
|
Post by smj on May 8, 2009 7:55:56 GMT -5
So - bamboo... There are a lot of different bamboo out there, some not very good that floats around and sells for a bit less than the really good stuff. The difference is that the best bamboo makes a bow that will last a fairly long time. I am trying to figure out how to tell the difference, should I ever get it figured out I will share with you! If one of you out there knows how to tell the good boo from the not so good boo - please share with the rest of us! This bamboo comes from Rudderbows, they have yet to do me wrong on supplies! I'll place a couple pics and have to come later to fill in the text. I put the boo on the jointer, 3 passes and it is flat enough to place a pattern on and trace an outline... 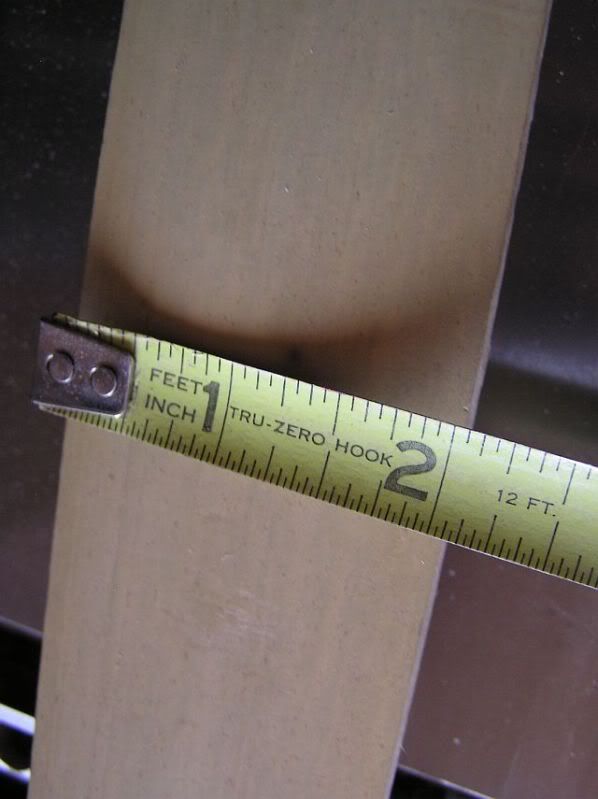 PS - As you can see here, the wall thickness and diameter of the bamboo will determine just how wide a bamboo pattern you can make. To make this flat, you shave the inside untill the inner radius is gone. The outer radius remains, so you can only go so far before your work piece begins to loose width. 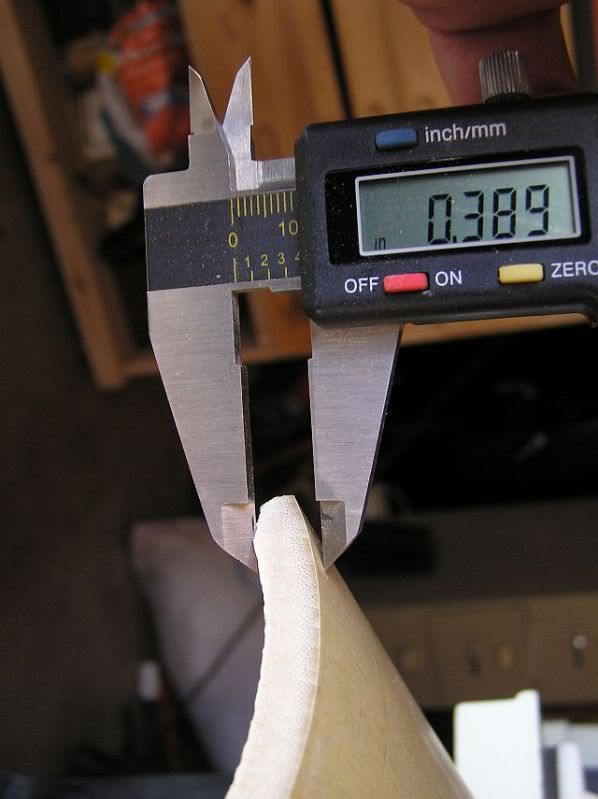 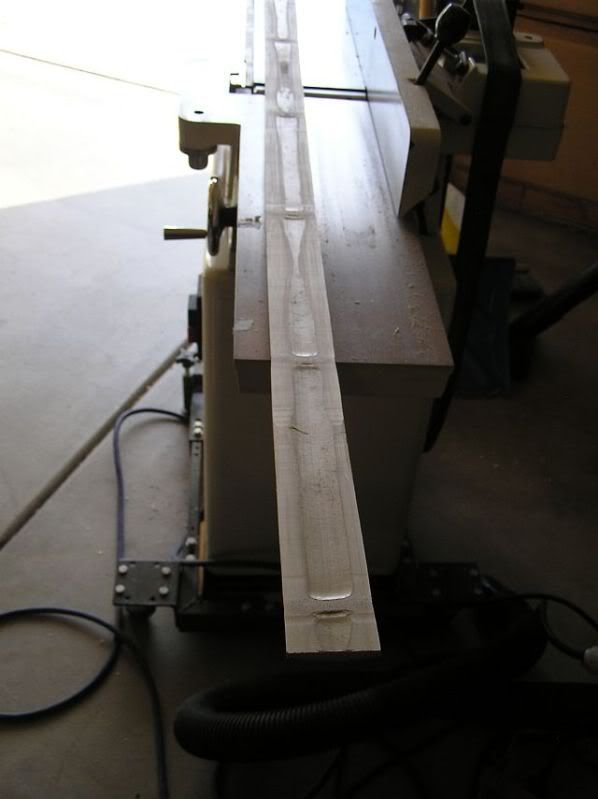 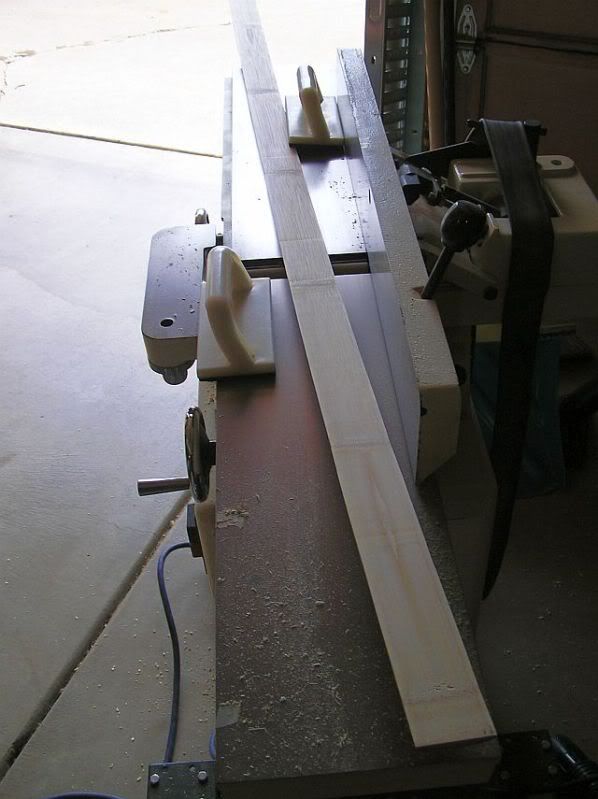 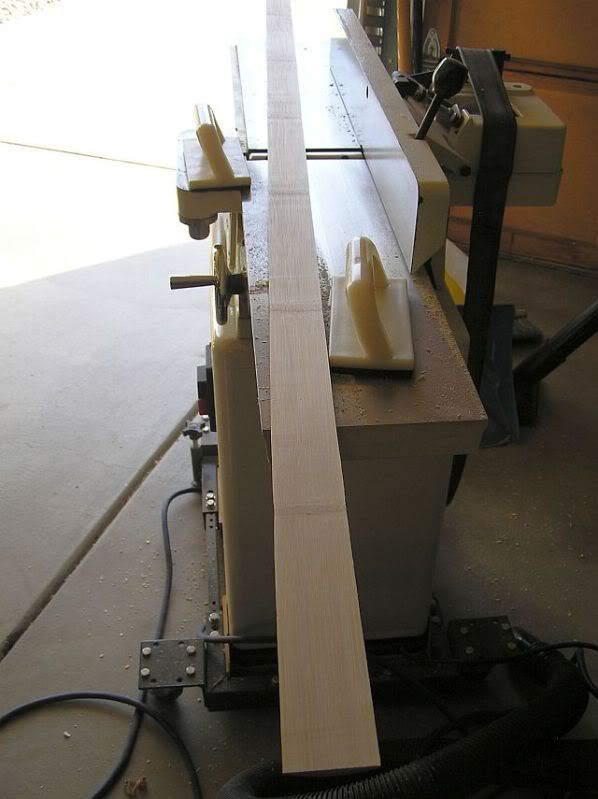 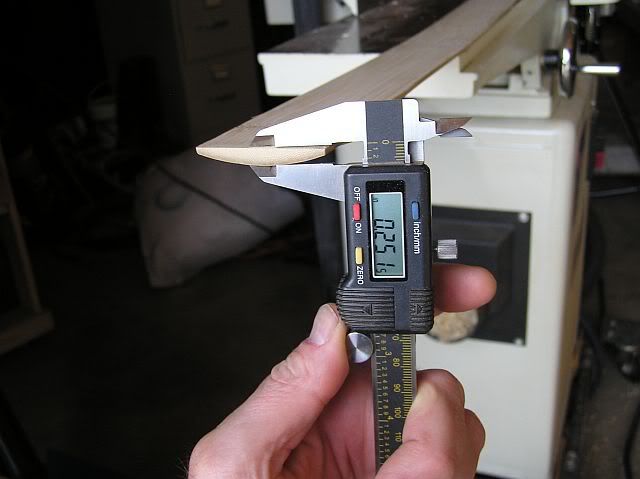 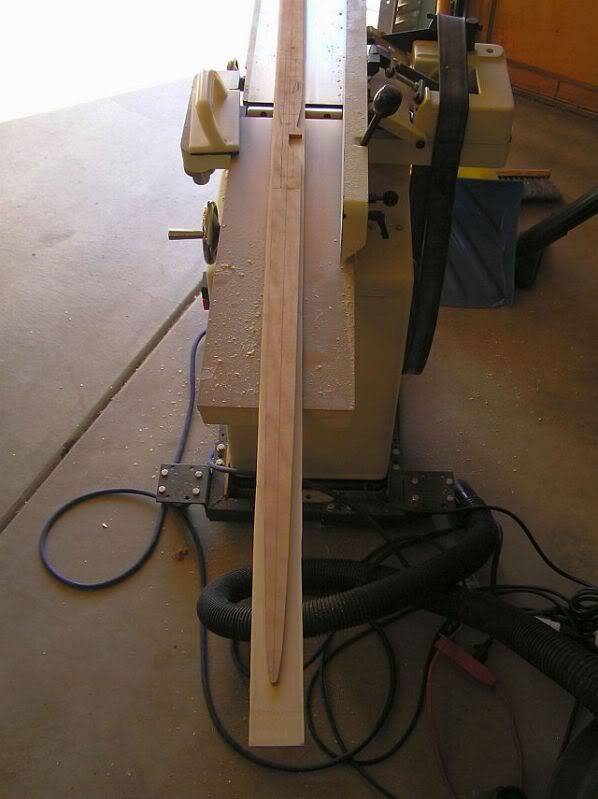 |
|