smj
Forum Guide
  Traditional Council
Posts: 1,819
|
Post by smj on Apr 27, 2007 7:23:55 GMT -5
Well all right! Looks like you are getting well set up... You going to post any more on the bows you are making?  I am still wondering how that last bow turned out... |
|
|
|
Post by easternhunter on Apr 27, 2007 8:00:00 GMT -5
AS YOU CAN SEE IN THE FIRST PIC ABOVE, I USED MY NEW RASPS TO CHAMFER THE LIMBS TO PREPARE FOR FLOOR TILLERING. IT'S THE ONE IN THE VISE BTW.
TIME IS LIMITED RIGHT NOW, BUT I HOPE TO GET AT IT IN A BIG WAY NEXT WEEK.
|
|
smj
Forum Guide
  Traditional Council
Posts: 1,819
|
Post by smj on Apr 29, 2007 18:27:11 GMT -5
So here are another couple items worth having... The first is a stick to check tiller. This is easy to make, and if you make bows this is worth having. It is just a 7 inch, or so, section of hardwood that is about an inch square or a bit more. You can use the sandpaper on glass, as seen above, to make sure that all 4 long sides are absolutely flat. They need to be flat for this to work best. I started with a 7 inch section of square red oak that someone had given me. Just sand all 4 sides until flat, take a pass or two along the sharp edges to make it feel good in the hand. Mark the center for both length and width, drill a small hole. 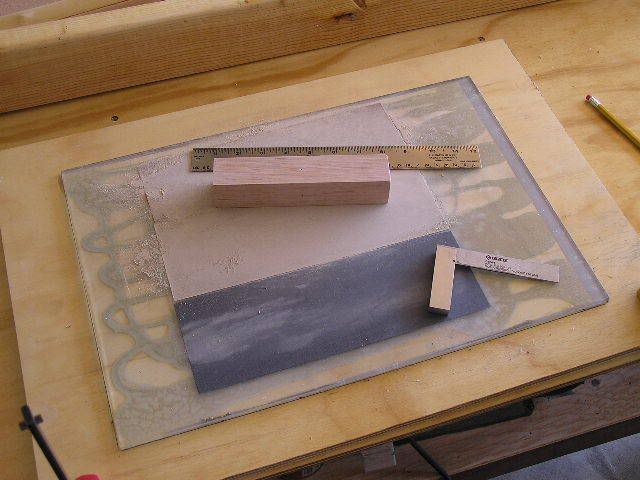 Now pick three screws, I put brass screws in (Easy to sand off any burrs that might make a scratch on the bow), starting with a very small head and increasing in size. I used #4, #8, and #12. Put a little finish on the block, I used a clear coat, and install the screws. Leave one side flat, rotate 90 degrees, put in the #4, rotate and place the #8, and so on. You end up with something that looks a lot like this - 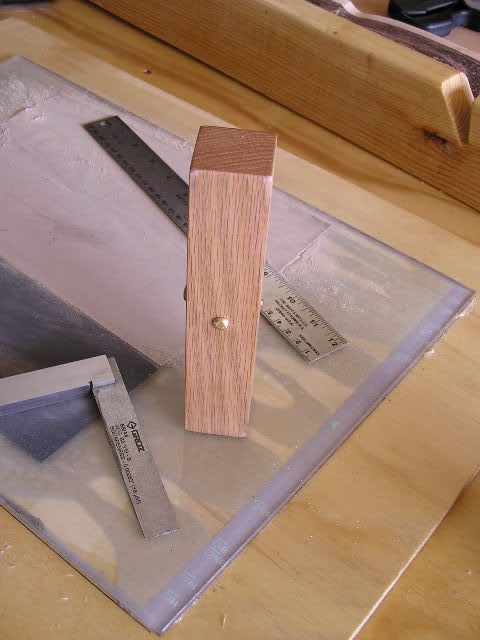 To use this, the flat side is used to check if the limbs are both flat. 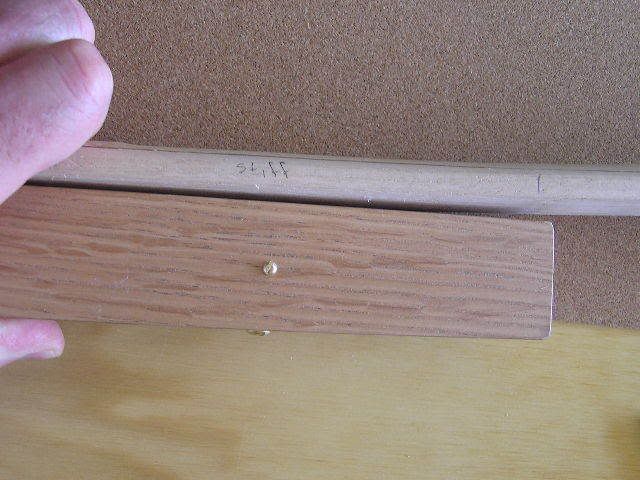 Once the limb is bent enough to curve a bit, you can use the block to check the amount of curve on each limb, and help balance them out. Rotate the block so that one of the screw heads matches the amount of gap that opens up when the block is passed under the limb. The screw is just an indicator to help you really see just how much curve each limb really has. Cuts out some of the guess work. This thing rocks for finding hinges and stiff sections. Another tools, although it might not seem like much, can be used to cut the taper on the belly side so that the limbs flex nice when you put it on the jig. You don't need a jointer to do this taper... Yeah, it don't look like much, but it has a taper that amounts to 1/8th inch for 26 inches of run, kept consistant along the entire length of it for all 75 inches of length. So, I can lay my belly stock up against this as a guide, adjust the table saw for the starting cutting point. I have found it hard to quickly do this taper, other than with a jointer, and this seems to work well. Three sides are very square to the table saw, one side left rough so I don't confuse how to place this when working. I'll post a pic of this in use when I get to it. 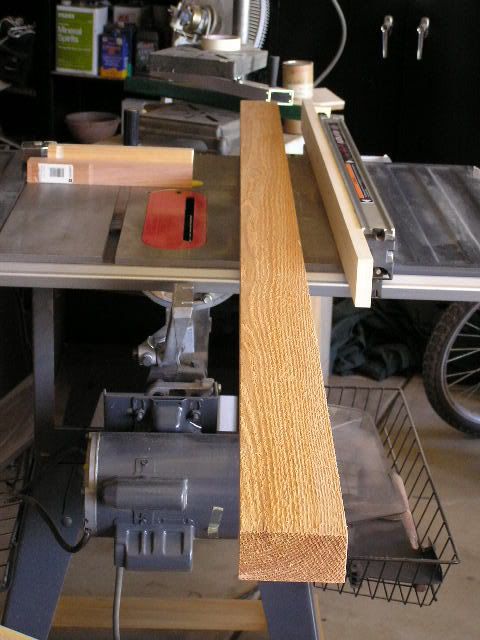 |
|
smj
Forum Guide
  Traditional Council
Posts: 1,819
|
Post by smj on May 7, 2007 7:27:37 GMT -5
So, when it comes to tillering, one needs to get a couple tools in line. The main tool, other than a rasp and some sandpaper, is a tillering tree. This is nothing more than a board that you can set the bow on, draw it and have it held at some draw length while you use the tiller stick to check for hinges or stiff sections in your limbs. I like to start with a small one. It has a flat surface on the bottom so that it sits stable on the bench. It is formed slightly to allow ease of use. The upper end, where the bow sits, is a clamp. It can grip the bow to help keep it in place. Here it is not under tension, just on the tree – 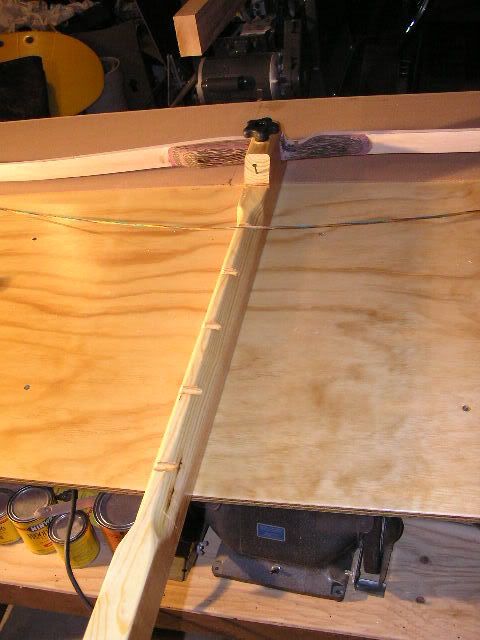 Under some tension, this clamp holds the bow great – 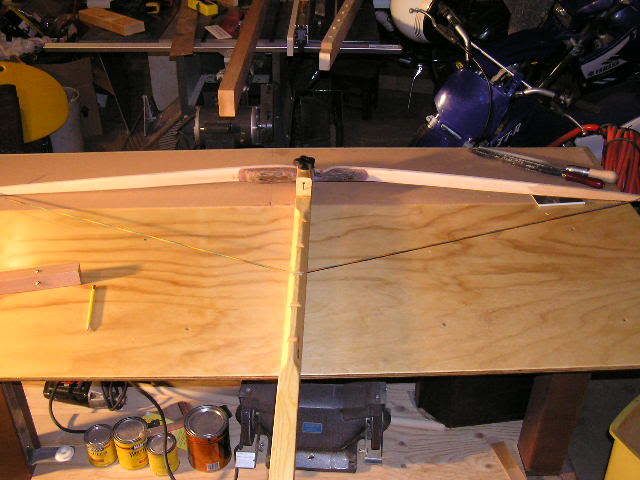 Here are the parts involved –  The nail keeps the clamp-jaw from turning on you… Might not be required, but won’t hurt anything either! – 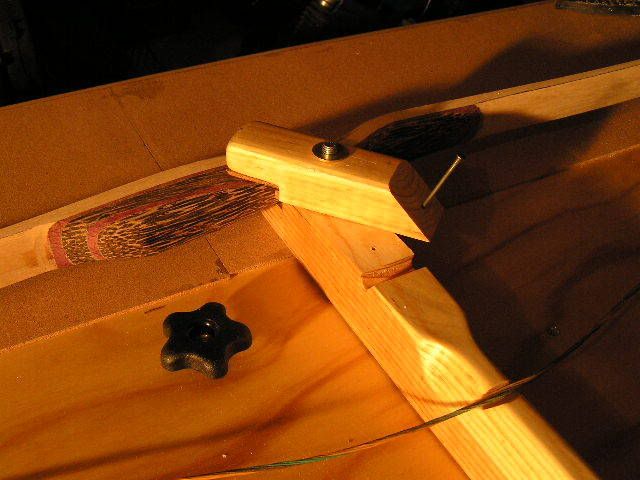 All clamped in place –  |
|
Coca Cola
Board Regular
 Formerly, upthere.
Posts: 406
|
Post by Coca Cola on May 8, 2007 5:54:19 GMT -5
|
|